
Introduction to the 20×20 Vegetable Garden Layout
The 20×20 vegetable garden layout is a widely embraced concept among both novice and experienced gardeners, owing to its optimal balance of manageability and productivity. This garden size, translating to 400 square feet, offers ample space to cultivate a diverse range of vegetables while still being small enough to maintain efficiently without feeling overwhelming. A well-thought-out layout in a 20×20 garden can significantly enhance your gardening experience by maximizing yield and minimizing the labor involved.
One of the primary benefits of a 20×20 vegetable garden layout is the ability to organize your crops systematically. By planning your garden, you can allocate specific areas for different types of vegetables, ensuring that each plant receives the appropriate amount of sunlight, water, and nutrients. This systematic arrangement not only promotes healthier plants but also makes it easier to implement crop rotation practices. Crop rotation helps prevent soil depletion and reduces the risk of pest infestations by alternating plants from different families in the same soil.
Moreover, a well-organized 20×20 vegetable garden layout allows for efficient use of space. By employing techniques such as companion planting and vertical gardening, you can make the most of every square foot. Companion planting involves growing plants that benefit each other in close proximity, which can lead to improved growth and pest control. Vertical gardening, on the other hand, utilizes structures like trellises and cages to grow climbing plants, thereby saving ground space for other crops.
Another advantage of a 20×20 vegetable garden layout is the ease of maintenance. With a smaller, well-planned garden, tasks such as watering, weeding, and harvesting become more manageable. It is easier to create pathways that allow you to move around the garden without compacting the soil, which is crucial for root development. Additionally, a compact garden is simpler to protect from pests and adverse weather conditions, ensuring that your plants thrive throughout the growing season.
In essence, a 20×20 vegetable garden layout provides an ideal framework for both beginners and seasoned gardeners to create a productive and enjoyable gardening experience. By focusing on organization, efficient space use, and ease of maintenance, this garden size can help you achieve a bountiful harvest with minimal effort.
Planning Your Garden: Choosing the Right Vegetables
When planning a 20×20 vegetable garden layout, selecting the right vegetables is paramount to achieving a productive and enjoyable gardening experience. The first step in this process is to consider your local climate. Certain vegetables thrive in particular weather conditions, and understanding your region’s temperature patterns, precipitation, and growing season length is crucial. For example, cool-season crops like lettuce, spinach, and peas flourish in cooler temperatures, whereas warm-season crops such as tomatoes, peppers, and cucumbers require higher temperatures to grow optimally.
Beyond climate, the soil type in your garden plays a significant role in the success of your crops. Conduct a soil test to determine its pH level and nutrient content. Vegetables like carrots and radishes prefer loose, sandy soil, while clay soil is better suited for moisture-retentive crops such as beans and squash. Amending your soil with organic matter can enhance its structure and fertility, making it more conducive to a wide range of vegetables.
Personal preferences also guide the selection process. Choose vegetables you and your family enjoy eating and that you will utilize in your cooking. Additionally, consider the space each plant requires; a 20×20 garden layout provides ample room, but some plants, like sprawling pumpkins or zucchini, can still dominate the area if not managed properly.
Popular vegetables that thrive in a 20×20 garden layout include tomatoes, peppers, beans, cucumbers, carrots, lettuce, spinach, radishes, and herbs such as basil and parsley. To determine the best planting times, consult a planting calendar specific to your region. Generally, cool-season crops can be planted in early spring or late summer, while warm-season crops should be sown after the last frost date in your area.
By carefully considering climate, soil type, and personal preferences, you can select the right vegetables that will thrive in your 20×20 garden layout, leading to a bountiful and rewarding harvest.
Designing Your Garden Layout: Rows, Beds, and Paths
When planning your 20×20 vegetable garden layout, the design you choose can greatly impact both the yield and maintenance of your garden. Three popular layout designs are traditional rows, raised beds, and square-foot gardening, each offering unique advantages and challenges.
Traditional Rows: This classic layout involves planting vegetables in long, straight rows with walking paths between them. It’s particularly efficient for large-scale gardens and mechanized farming. Rows facilitate easy access for planting, weeding, and harvesting. However, this method may not be the most space-efficient for a 20×20 garden. The wide paths required can lead to unused space, and the soil can become compacted from frequent foot traffic.
Raised Beds: Raised beds are a popular choice for maximizing space and yield in a 20×20 vegetable garden layout. These beds are typically 3-4 feet wide, allowing easy access from either side without stepping on the soil, which helps prevent compaction. Raised beds warm up faster in the spring, allowing for an earlier start to the growing season. They also provide excellent drainage and can be filled with high-quality soil, enhancing plant health and productivity. The primary downside is the initial cost and effort required to build the beds, but the long-term benefits often outweigh these initial investments.
Square-Foot Gardening: This method involves dividing your garden into a grid of 1-foot squares, each dedicated to a different plant. It’s an efficient and organized way to maximize space in a 20×20 vegetable garden layout. Square-foot gardening is ideal for beginners as it simplifies planting, minimizes waste, and reduces the need for weeding. One potential drawback is that it requires careful planning and precise planting. However, the high productivity and simplicity often make it a worthwhile approach.
Creating paths within your garden is essential for accessibility and maintenance. In a 20×20 layout, paths should be wide enough to walk through comfortably, ideally around 18-24 inches. Mulch, gravel, or stepping stones can be used to define paths and prevent weeds. Well-planned paths not only make your garden more navigable but also reduce soil compaction and enhance the overall aesthetic.
Each garden layout has its pros and cons, and the best choice depends on your specific needs and resources. By understanding the characteristics of traditional rows, raised beds, and square-foot gardening, you can design a 20×20 vegetable garden layout that is both productive and manageable.
Soil Preparation and Fertilization
Proper soil preparation is a crucial first step in mastering the 20×20 vegetable garden layout. The health and productivity of your garden largely depend on the quality of the soil. Begin by testing the soil pH, a critical factor that influences nutrient availability to plants. Most vegetables thrive in a slightly acidic to neutral pH range of 6.0 to 7.0. Soil testing kits are readily available at garden centers, and some local extension services offer soil testing as well.
Once you have determined the pH, the next step is to amend the soil as necessary. Adding compost is essential for enriching the soil with organic matter, improving its structure, and enhancing its moisture-retention capabilities. Spread a 2-3 inch layer of compost over the garden bed and till it into the top 6-8 inches of soil. This process not only improves the soil’s texture but also introduces beneficial microorganisms that aid in plant growth.
Tilling the soil breaks up compacted areas, aerates the soil, and makes it easier for roots to penetrate. However, be cautious not to over-till, as this can disrupt soil structure and harm beneficial organisms. A garden fork or a rototiller can be used for this task. Ensuring the soil is well-prepared will set a strong foundation for your 20×20 vegetable garden layout.
Fertilization is the next critical component. Vegetables are heavy feeders and require a steady supply of nutrients throughout the growing season. Organic fertilizers, such as well-rotted manure, bone meal, and fish emulsion, are excellent choices for their slow-release properties and minimal environmental impact. Synthetic fertilizers can also be used, but they should be applied according to package instructions to avoid over-fertilization, which can damage plants and leach into groundwater.
By carefully preparing the soil and selecting the right fertilizers, you can create an optimal growing environment for your 20×20 vegetable garden layout, ensuring robust and healthy plant growth.
Irrigation: Keeping Your Garden Hydrated
Ensuring proper hydration is crucial for the success of any 20×20 vegetable garden layout. Various irrigation methods can be employed to keep your plants well-nourished and thriving. Among the most effective techniques are drip irrigation, soaker hoses, and traditional sprinklers, each offering unique benefits suited to different gardening needs.
Drip irrigation is highly efficient, delivering water directly to the base of each plant. This method minimizes water wastage and reduces the risk of leaf diseases by keeping foliage dry. Installing a drip irrigation system involves laying out tubing with emitters at strategic points within your 20×20 vegetable garden layout. This setup ensures that each plant receives a consistent amount of water, promoting uniform growth.
Soaker hoses are another excellent option for maintaining consistent moisture levels. These porous hoses can be laid directly on the soil, allowing water to seep out slowly and evenly. This method is particularly useful for densely planted gardens, as it ensures that water reaches the root zones without oversaturating the soil. To set up soaker hoses, position them around the base of your plants and cover them with mulch to prevent evaporation.
Traditional sprinklers are a more conventional approach, providing widespread coverage that is ideal for larger areas within your 20×20 vegetable garden layout. While sprinklers are easy to install and use, they can sometimes lead to water wastage and uneven distribution. To mitigate these issues, use a timer to control watering duration and schedule watering sessions during early morning or late afternoon to reduce evaporation.
Regardless of the irrigation method chosen, maintaining a consistent watering schedule is imperative. Inconsistent watering can lead to stress on plants, resulting in poor yield and increased susceptibility to pests and diseases. Regularly monitor soil moisture levels and adjust your watering routine based on weather conditions and the specific needs of your vegetable varieties. By implementing an efficient irrigation system, you can ensure that your 20×20 vegetable garden layout remains well-hydrated, promoting a healthy and bountiful harvest.
Pest and Disease Management
Effective pest and disease management is critical for maintaining the health and productivity of a 20×20 vegetable garden layout. Common pests that can jeopardize your harvest include aphids, caterpillars, and beetles, while diseases like blight, powdery mildew, and root rot can also pose significant challenges. Implementing a comprehensive management strategy can help mitigate these threats and ensure a bountiful harvest.
Prevention is the first line of defense against pests and diseases. Crop rotation is a highly effective preventive measure; by changing the types of crops grown in specific areas of your garden each year, you can disrupt the life cycles of pests and reduce the risk of soil-borne diseases. Companion planting, where certain plants are grown together to naturally repel pests or enhance each other’s growth, can also be beneficial. For example, marigolds can deter nematodes and aphids, while basil planted near tomatoes can ward off tomato hornworms.
When it comes to organic control methods, there are several options available. Introducing beneficial insects like ladybugs and predatory beetles can help control aphid populations, while neem oil and insecticidal soaps can be effective against a variety of pests. For disease control, organic fungicides such as copper sprays can help manage blights and mildews. Additionally, maintaining proper garden hygiene by removing diseased plant material and ensuring adequate air circulation can prevent the spread of pathogens.
Chemical control methods, though often more effective, should be used judiciously to avoid harming beneficial insects and contaminating the environment. Selective insecticides that target specific pests while sparing beneficial species can be a valuable tool. Fungicides can also provide a crucial line of defense against persistent diseases. It is essential to follow label instructions carefully and apply these products only when necessary, adhering to recommended application rates and timings.
By combining preventive measures with both organic and chemical controls, gardeners can effectively manage pests and diseases in a 20×20 vegetable garden layout, ensuring a healthy and productive growing season.
Harvesting and Storing Your Produce
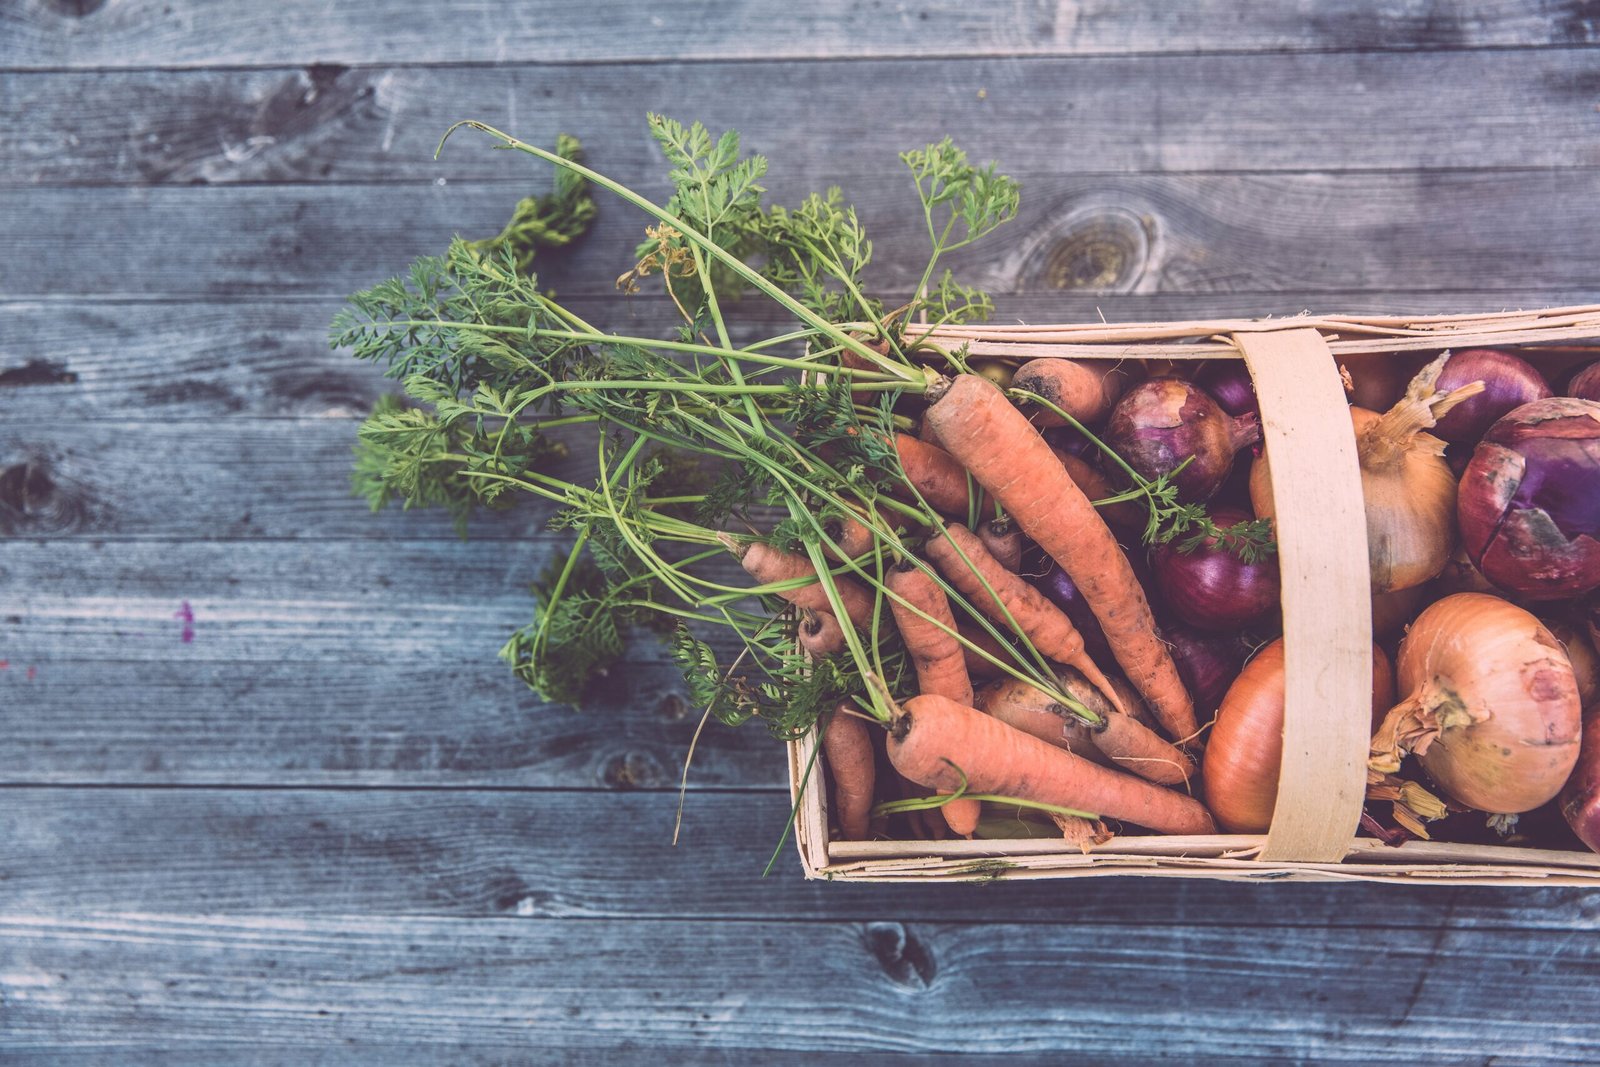
Knowing the optimal time to harvest your vegetables is crucial for maximizing the yield and quality of your 20×20 vegetable garden layout. Each vegetable has its own indicators of ripeness. For instance, tomatoes should be harvested when they are fully colored and slightly soft to the touch, while carrots are best picked when their shoulders are about an inch in diameter. Regularly checking your garden and noting these indicators can help ensure that you harvest your produce at its peak.
Once you’ve determined that your vegetables are ready for harvest, the technique you use to pick them can significantly impact their longevity and taste. For leafy greens like lettuce and spinach, it’s best to use sharp scissors to cut the leaves, leaving the roots intact for regrowth. Root vegetables such as potatoes and beets require gentle digging with a garden fork to avoid bruising. For fruiting vegetables like peppers and cucumbers, hand-picking with a slight twist usually works best to prevent damage to the plant.
Proper storage methods are essential for prolonging the freshness and nutritional value of your harvest. Leafy greens should be washed, dried, and stored in the refrigerator in a breathable bag to maintain moisture without causing mold. Root vegetables can be kept in a cool, dark place; carrots and beets, in particular, store well in sand or sawdust to maintain their crispness. Tomatoes, on the other hand, should be stored at room temperature until they reach full ripeness and then moved to the refrigerator to extend their shelf life.
Understanding these nuances of harvesting and storing can significantly enhance the effectiveness of your 20×20 vegetable garden layout. By following these guidelines, you can enjoy a bountiful harvest that remains fresh and nutritious for an extended period.
Seasonal Maintenance and Preparing for Next Year
Proper seasonal maintenance is crucial for maximizing the productivity of your 20×20 vegetable garden layout. As the growing season progresses, various tasks such as mulching, pruning, and winterizing become essential to ensure a healthy, bountiful harvest. To start, applying a layer of mulch around your plants helps retain soil moisture, suppress weeds, and regulate soil temperature. Organic mulches such as straw, grass clippings, or shredded leaves are particularly beneficial as they gradually decompose, adding organic matter to the soil.
Pruning is another key task, especially for plants like tomatoes, peppers, and cucumbers. Removing dead or diseased leaves and stems not only promotes healthy growth but also improves air circulation, reducing the risk of fungal diseases. It’s equally important to stay vigilant about pest control, using organic methods such as neem oil or insecticidal soap to manage infestations without harming beneficial insects.
As the season comes to a close, winterizing your garden is the next step. Removing spent plants and debris prevents the overwintering of pests and diseases. Cover crops, such as clover or rye, can be planted to protect and enrich the soil during the colder months. These cover crops add organic matter and can be tilled into the soil in the spring, enhancing soil structure and fertility.
Preparing for next year’s planting season involves several proactive steps. Begin by testing your soil to determine its pH and nutrient levels. Based on the results, you can amend the soil with compost, manure, or other organic fertilizers to replenish essential nutrients. Planning crop rotations is another vital aspect of maintaining soil health. Rotating crops helps break pest and disease cycles and prevents the depletion of specific nutrients. For example, follow nitrogen-fixing legumes with heavy feeders like tomatoes or corn to maintain a balanced nutrient profile.
By adhering to these seasonal maintenance practices and preparing methodically for the next planting season, you can ensure that your 20×20 vegetable garden layout remains productive and sustainable year after year.


