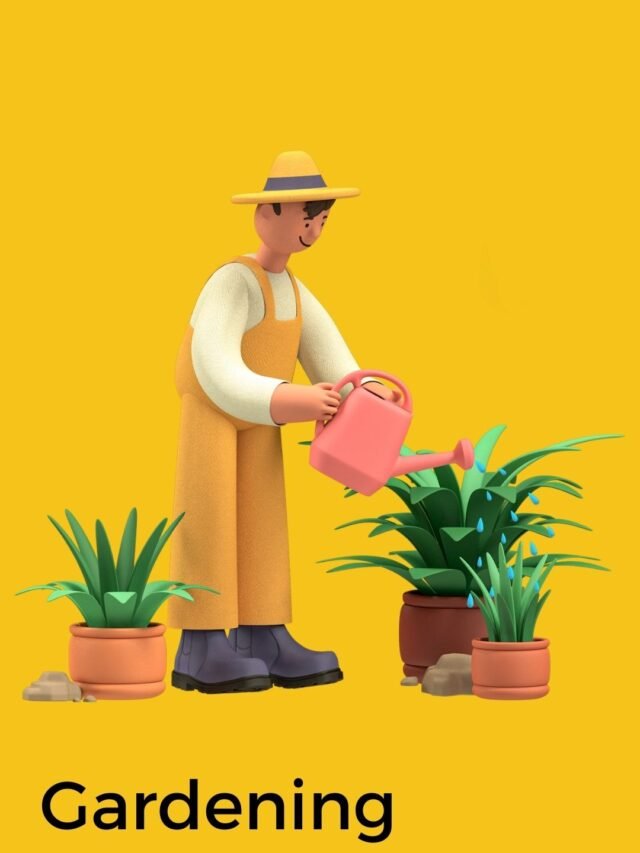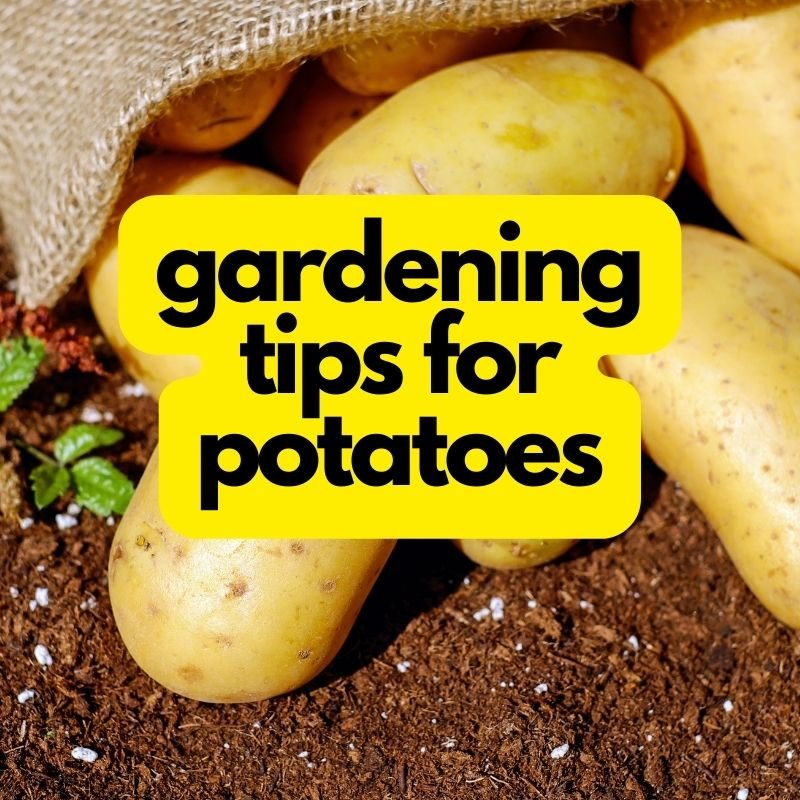
6 gardening tips for potatoes
Interested in growing potatoes but don’t have a lot of space? There is a solution for you! These 6 tips will help make sure your potato plants have all the nutrients they need to grow big, lush, and healthy. Follow these tips closely and you’ll be harvesting the perfect potatoes in no time.

Planning
When it comes to growing potatoes, the first step is always planning. You need to make sure you have the right space for a potato patch, as well as the correct soil and drainage. It’s also important to know when to plant your potatoes, as this can vary depending on the climate you live in.
Once you’ve got all of that sorted, it’s time to start thinking about what type of potatoes you want to grow. There are many different varieties available, so do some research and choose the ones that best suit your needs. Once you’ve decided on your potato varietals, it’s time to get planting!
Seed Potatoes
If you’re looking to add potatoes to your home garden, there are a few things to keep in mind. First, you’ll need to start with seed potatoes. These are small potatoes that are specially grown for planting and will produce a new potato crop. You can find seed potatoes at most garden centers or online.
When selecting seed potatoes, look for ones that are firm and free of blemishes. Avoid any that have sprouted or are beginning to shrivel. Once you have your seed potatoes, you’ll need to prepare them for planting.
To do this, cut each potato into 2-3 smaller pieces, making sure each piece has at least one eye (the small indentation on the surface of the potato where a new sprout will emerge). Place the potato pieces in a cool, dark place for a day or two before planting. They will grow a stronger root system as a result.
When you’re ready to plant, choose a spot in your garden that gets full sun and has well-drained soil. Dig trenches about 10-12 inches deep and space the potato pieces about 12 inches apart within the trench. Then, cover the trench with 3-4 inches of soil and water well.
As your potatoes grow, be sure to keep the soil moist but not soggy. You can also mound additional soil around the plants as they grow taller, which will help support the developing tubers (potatoes). Harvest your crop when the
Planting
If you’re looking to add potatoes to your backyard garden, there are a few things you need to know in order to have a successful crop. Here are some tips for growing potatoes:
- Planting: When planting potatoes, it’s important to choose a spot that gets full sun and has well-drained soil. You’ll also want to make sure the area is free of any rocks or debris that could impede the growth of your potato plants.
- Watering: Potatoes need to be kept moist, but not waterlogged. Water them deeply about once a week, and make sure the soil around the plants is always damp but not soggy.
- Fertilizing: Use a balanced fertilizer when planting potatoes, and side-dress with more fertilizer every few weeks during the growing season. This will help promote strong growth and large yields.
- Harvesting: Potatoes can be harvested when they reach maturity, which is typically about 2-3 months after planting. To harvest, simply dig up the plants and pull the potatoes from the soil.
Soil Preparation
- Soil Preparation
Potatoes are a root crop and need deep, loose soil in which to grow. To prepare your potato patch, dig out any grass and weeds, then loosen the soil to a depth of at least 12 inches. Add some compost or well-rotted manure to the planting area to help improve drainage and fertility. If your soil is heavy clay, consider raised beds or planting in containers.
In general, potatoes prefer slightly acidic soil with a pH of 5.0 to 6.0. If you’re not sure about your soil’s pH, you can test it with an inexpensive kit from your local nursery or county extension office.
Caring for Your Potato Plants
When it comes to growing potatoes, there are a few things you need to keep in mind in order to ensure a successful crop. First and foremost, you need to make sure you are caring for your potato plants properly. Here are a few tips on how to do just that:
Watering: Potatoes need consistent watering, especially when they are first getting established. Make sure to water them deeply and regularly (about 1-2 inches per week), and avoid letting the soil dry out completely.
Fertilizing: Potatoes benefit from being fertilized every few weeks with a balanced fertilizer. Be careful not to over-fertilize, as this can lead to foliage growth at the expense of potato development.
Weeding: Keep an eye on weeds and make sure to pull them before they have a chance to take over your potato patch. Weeds compete with potatoes for water and nutrients, so getting rid of them is crucial for a healthy crop.
Harvesting: When the time comes to harvest your potatoes, be careful not to damage the plants while digging them up. Gently loosen the soil around the plants with a spade or fork, and then lift them out of the ground being careful not to harm the roots or tubers.
Harvesting Your Potatoes
Growing your own potatoes is a fun and rewarding experience, and harvesting them is the best part! Here are some tips for harvesting your potatoes:
- Wait until the plants have died back before harvesting. Typically, this takes place in the late summer or early fall.
- Carefully dig up the plants, being careful not to damage the potatoes.
- Sort through the potatoes, discarding any that are bruised or damaged.
- Wash the potatoes thoroughly and allow them to dry completely before storing them in a cool, dark place.
- Enjoy your delicious home-grown potatoes!
How Do I Store My Harvested Potatoes?
If you’re lucky enough to have a bumper crop of potatoes, congratulations! Now it’s time to figure out the best way to store them so you can enjoy them all winter long.
The first step is to cure your potatoes. This process helps to heal any cuts or bruises and also toughens up the skin, which will help them last longer. Curing is simple: just spread your potatoes out on a newspaper-lined surface in a cool, dark place for 10 days. After that, they’re ready to be stored.
There are a few different storage options for potatoes, depending on what kind of space you have available. The most important thing is to keep them in a cool, dark, and dry place.
One option is to store them in an open container, like a basket or crate. Just make sure there’s good air circulation so they don’t start to rot. Another option is to store them in a closed container, like a plastic bin or bucket with holes drilled in the lid for ventilation. If you live in a colder climate, you can even store your potatoes in an unheated garage or shed – just make sure it doesn’t freeze!
No matter how you choose to store your potatoes, check on them every few weeks and use up any that have started to sprout or show signs of rot. With proper care, your potato harvest should last all winter long!
The Best Sustainably Traveling Tips And Techniques