Tag Archives: plant care

person watering plant

The Ultimate Guide to Gardening: Essential Tips and Tools for a Thriving Garden

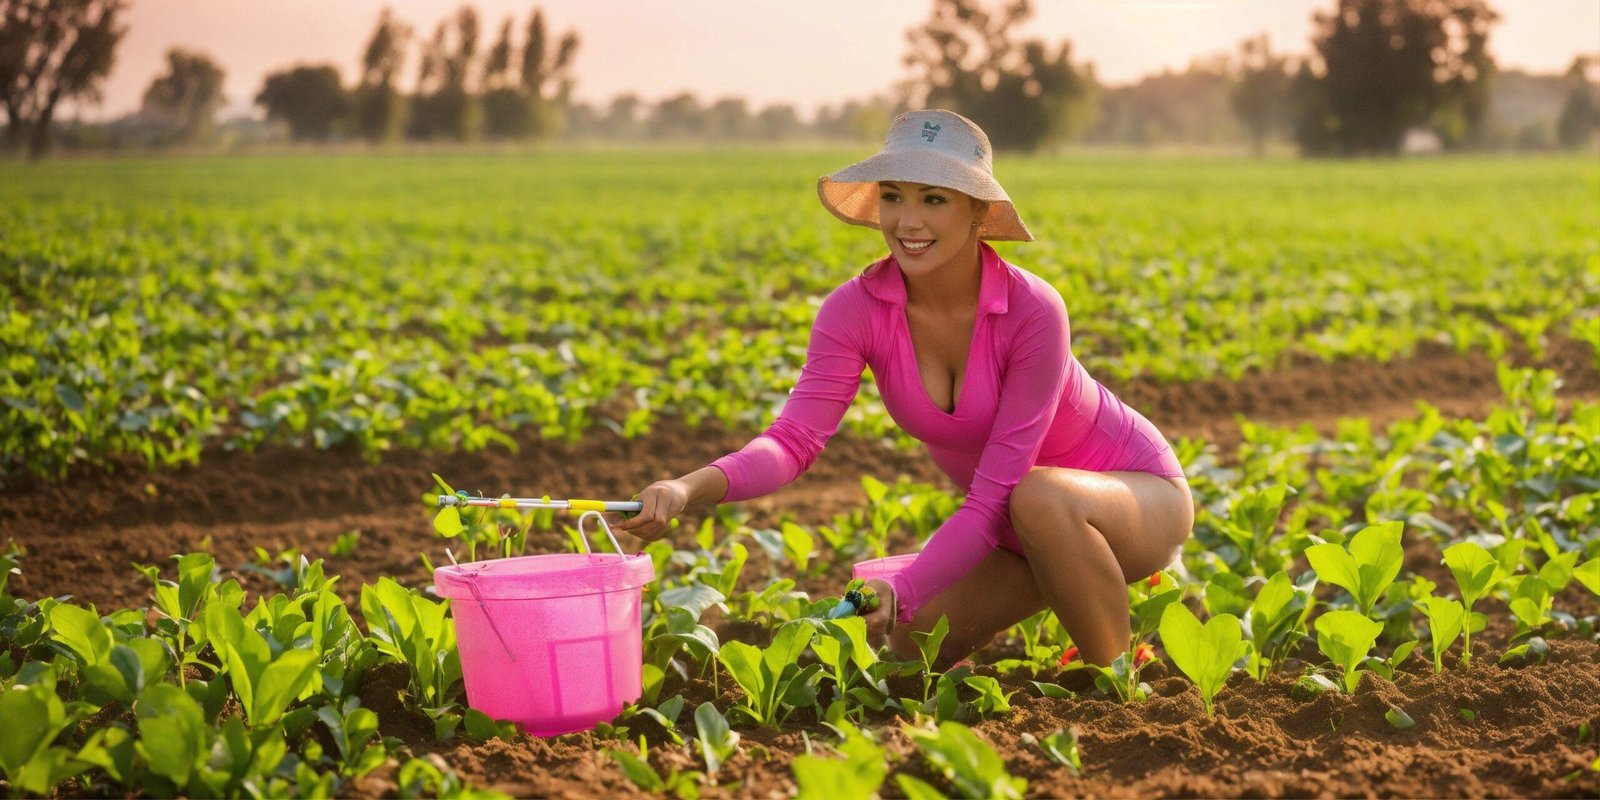
Gardening is not only a hobby but also a form of therapy for many people. It allows individuals to escape the stresses of daily life and immerse themselves in the beauty of nature. By tending to plants and watching them grow, gardeners experience a sense of accomplishment and fulfillment that is hard to find elsewhere.

One of the first things that every aspiring gardener should understand is the importance of soil. Good soil is the foundation for a successful garden. It provides the necessary nutrients and support for plants to grow and thrive. Before starting a garden, it is essential to assess the quality of the soil and make any necessary amendments to improve its fertility.

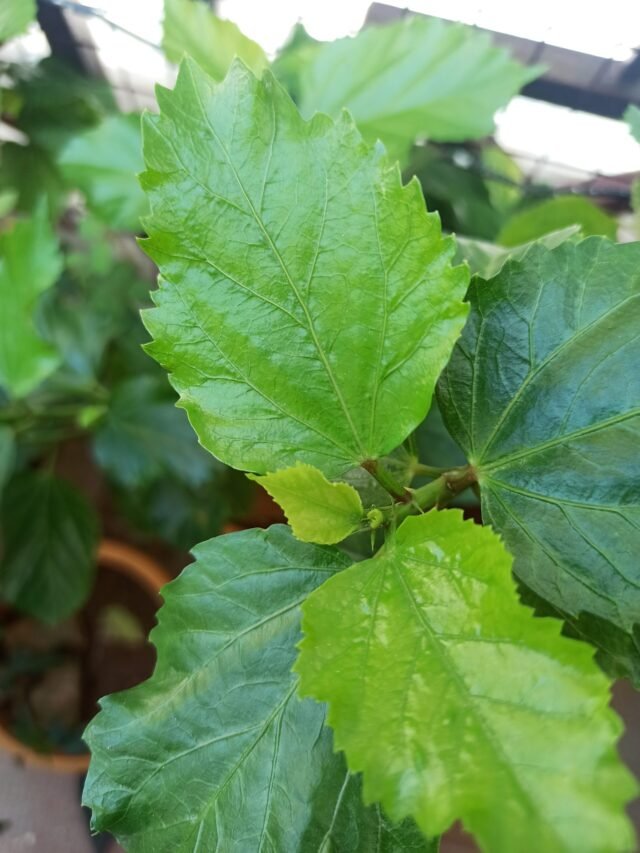
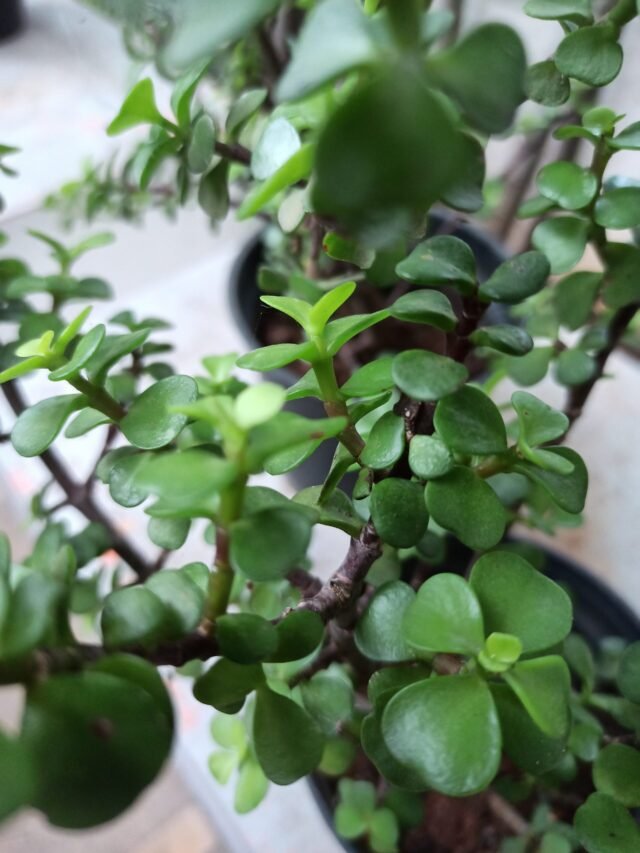
Another crucial aspect of gardening is understanding the needs of different plants. Each plant has specific requirements for sunlight, water, and temperature. Some plants thrive in full sun, while others prefer shade. Some plants require regular watering, while others are more drought-tolerant. By understanding these needs, gardeners can create the ideal growing conditions for their plants.

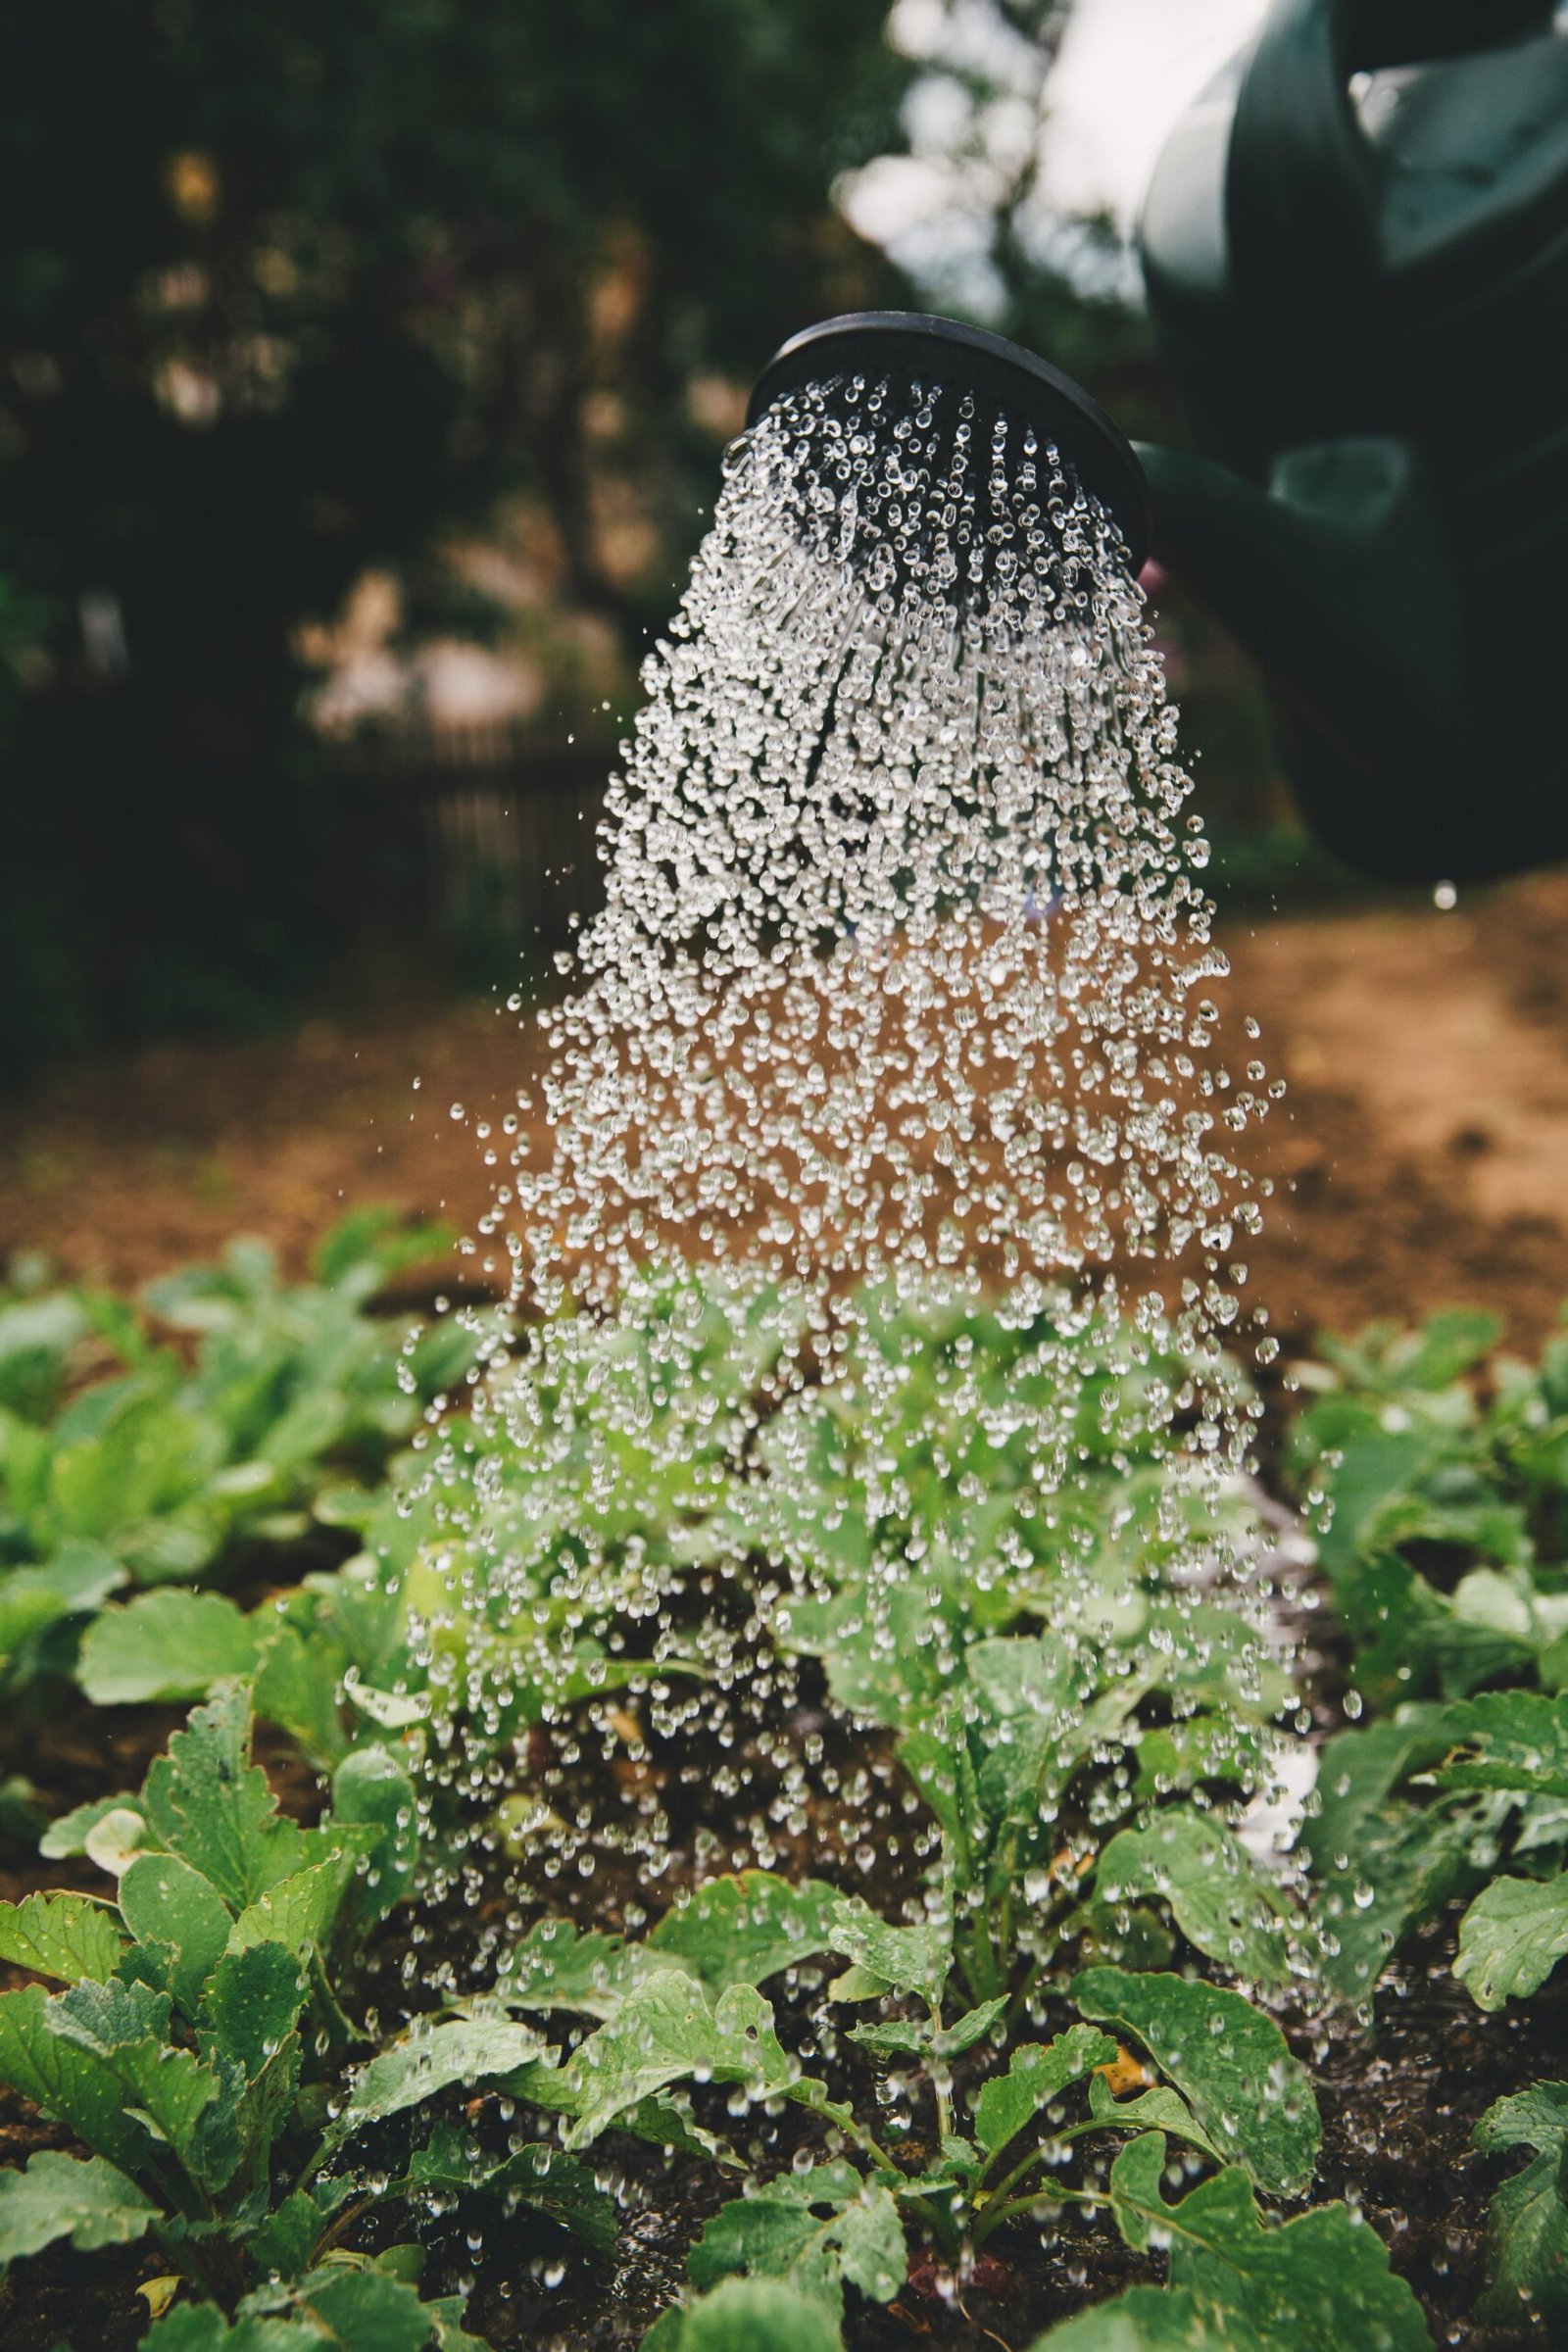
Proper watering is another key factor in maintaining a healthy garden. Overwatering can lead to root rot and other diseases, while underwatering can cause plants to wither and die. Finding the right balance can be challenging, but it is crucial for the overall health of the garden. Factors such as climate, soil type, and plant species all play a role in determining how much water a garden needs.

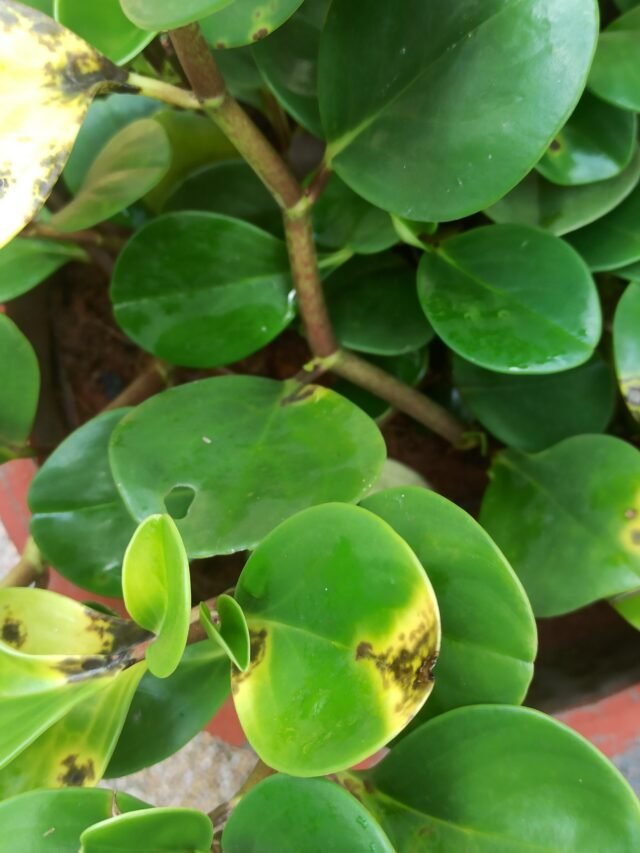
In addition to watering, gardeners must also be vigilant about pests and diseases. Insects, rodents, and other pests can wreak havoc on a garden if left unchecked. Regular inspection and early intervention are essential for preventing infestations and minimizing damage. Similarly, diseases such as fungal infections can quickly spread and devastate a garden. Proper sanitation and the use of organic fungicides can help prevent the spread of diseases.

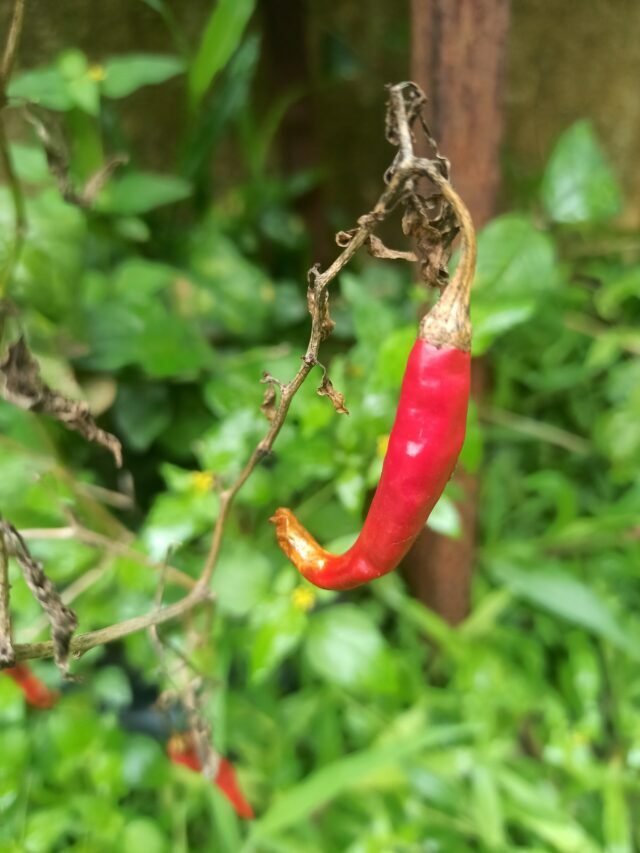
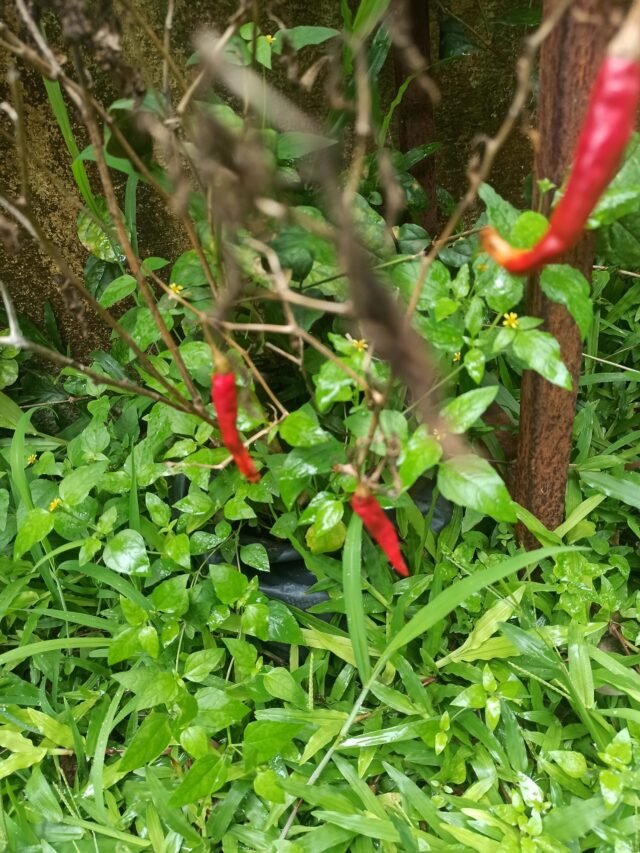
Finally, one of the most rewarding aspects of gardening is the ability to enjoy the fruits of your labor. Whether it’s harvesting fresh vegetables, picking vibrant flowers, or simply sitting in a beautiful garden, the rewards of gardening are endless. The sense of accomplishment that comes from growing your food or creating a stunning landscape is truly gratifying.

In conclusion, gardening is a delightful and fulfilling activity that offers numerous benefits. By understanding the basics of gardening, such as soil preparation, plant care, pest control, and harvesting, individuals can create and maintain beautiful gardens that bring joy and beauty to their lives.

4. Community Engagement

Gardening can bring people together and foster a sense of community. Community gardens, where individuals come together to cultivate shared plots of land, provide a space for neighbors to connect and collaborate. These gardens often promote social interaction, knowledge sharing, and a sense of belonging. By participating in a community garden, individuals can form relationships, learn from each other, and work towards a common goal of creating a beautiful and productive green space.

5. Educational Opportunities

Gardening offers endless opportunities for learning and personal growth. Whether you are a seasoned gardener or a beginner, there is always something new to discover and explore. Gardening can teach valuable lessons about biology, botany, ecology, and sustainability. It can also provide practical skills such as planning, problem-solving, and time management. Engaging in gardening activities can be a great way to educate children about the natural world and instill in them a sense of responsibility towards the environment.

6. Aesthetics and Beauty

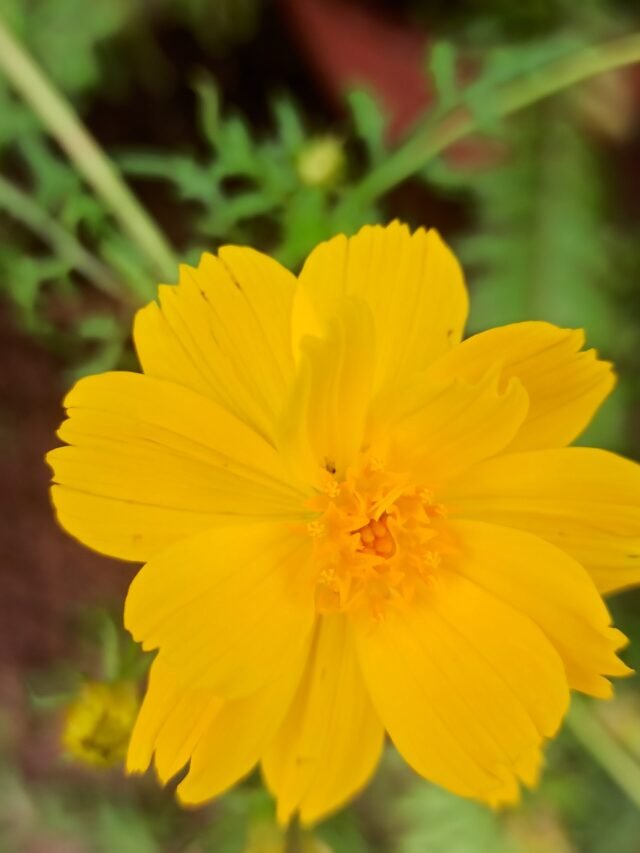
Gardening allows individuals to create and enjoy beautiful outdoor spaces. Whether you have a small balcony garden, a backyard oasis, or a sprawling landscape, gardening gives you the opportunity to design and cultivate an aesthetically pleasing environment. By carefully selecting plants, arranging them in visually pleasing patterns, and incorporating elements such as pathways, seating areas, and water features, you can transform your outdoor space into a tranquil and inviting sanctuary.

7. Stress Relief

Gardening has long been recognized as a therapeutic activity that can help reduce stress and anxiety. The act of nurturing plants, watching them grow, and seeing the fruits of your labor can be incredibly rewarding and calming. Gardening provides a sense of purpose and accomplishment, allowing individuals to focus on the present moment and find solace in nature. The rhythmic tasks of planting, weeding, and watering can be meditative, providing a much-needed break from the fast-paced and technology-driven world we live in.

8. Sustainability

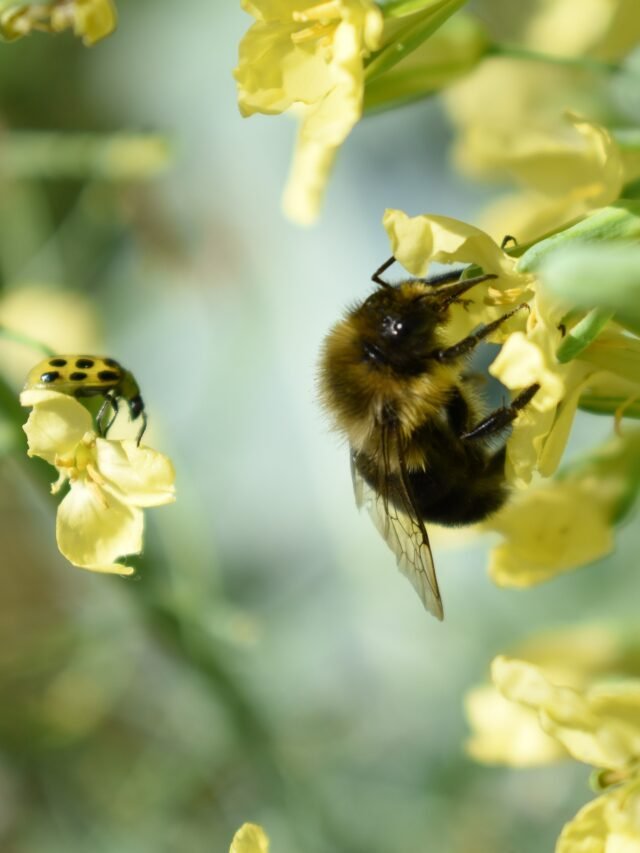
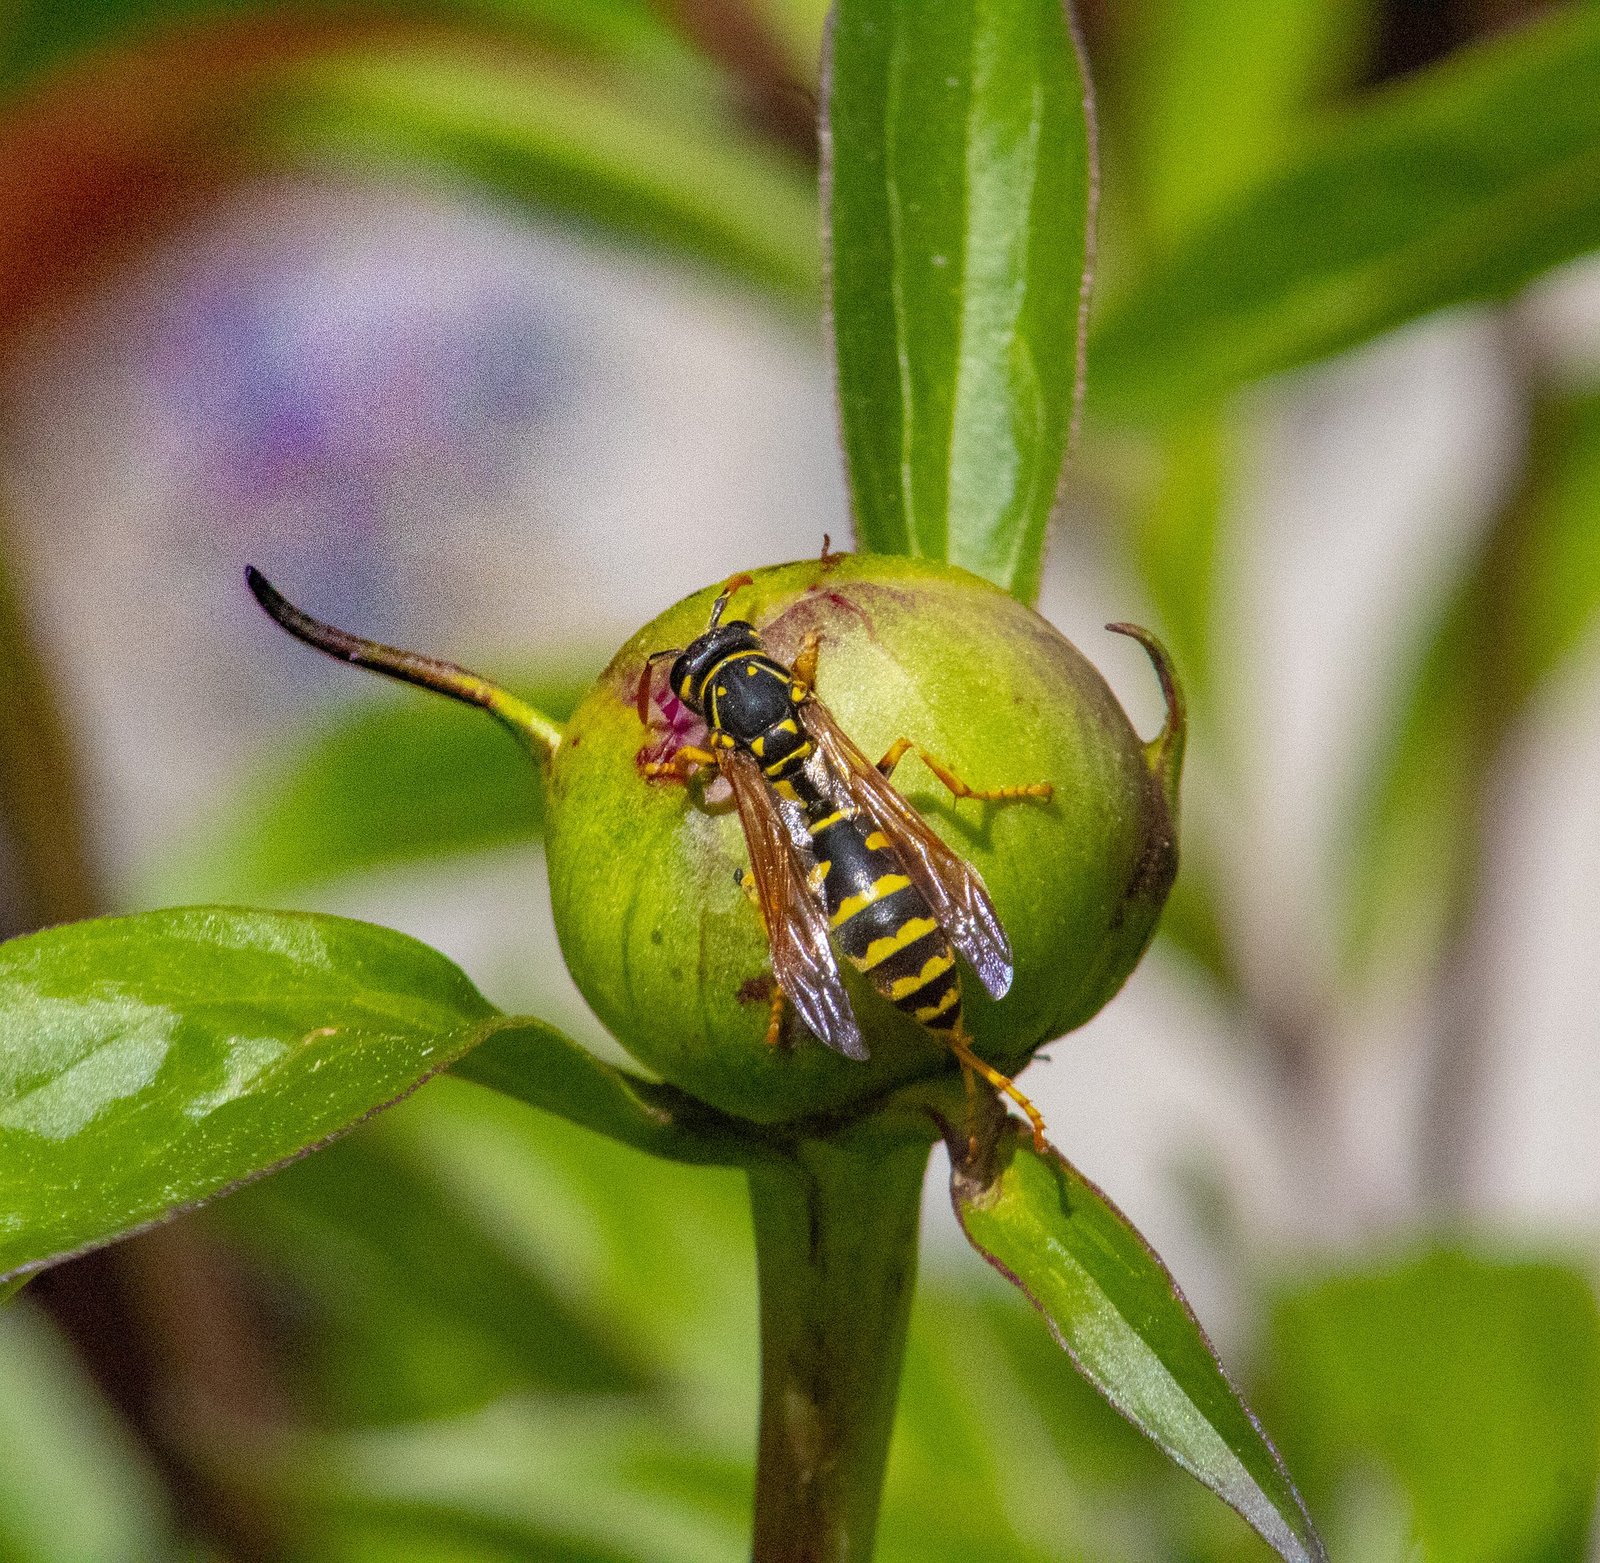
Gardening promotes sustainability by encouraging individuals to adopt eco-friendly practices. By composting kitchen scraps, using organic fertilizers, and conserving water, gardeners can minimize waste and reduce their environmental impact. Furthermore, gardening encourages biodiversity by attracting pollinators and beneficial insects, which play a crucial role in maintaining healthy ecosystems. By embracing sustainable gardening practices, individuals can contribute to the conservation of natural resources and help create a more resilient and sustainable future.

7. Garden Rake

A garden rake is an essential tool for leveling the soil, removing debris, and spreading mulch. It has sturdy tines that help break up clumps of soil and remove rocks or other unwanted materials from the surface.

8. Pruning Saw

While pruning shears are great for smaller branches, a pruning saw is necessary for larger, thicker branches. It allows you to make clean cuts without damaging the tree or shrub, promoting healthy growth and preventing disease.

9. Garden Hoe

A garden hoe is useful for cultivating the soil, removing weeds, and creating furrows for planting seeds. It has a long handle and a flat blade that can easily break up the soil and remove unwanted vegetation.

10. Garden Spade

A garden spade is a versatile tool that can be used for digging, edging, and transplanting. It has a sharp, flat blade that can cut through soil and roots, making it ideal for creating planting holes or dividing plants.

11. Garden Pruners

In addition to pruning shears, garden pruners are a valuable tool for cutting larger branches and stems. They have longer blades and handles, providing more leverage and making it easier to tackle thicker growth.

12. Garden Twine

Garden twine is a handy tool for tying plants to stakes, trellises, or other structures. It helps support the plants and prevents them from falling over or getting damaged by strong winds or heavy fruit.

13. Garden Sprayer

A garden sprayer is useful for applying fertilizers, pesticides, or herbicides to your plants. It allows for precise and controlled application, ensuring that your plants receive the necessary nutrients and protection from pests or diseases.

Having these essential gardening tools will make your gardening experience more enjoyable and productive. They will help you maintain the health and beauty of your garden, allowing you to grow a wide variety of plants and create a thriving outdoor space.

Basic Gardening Principles

Now that you have the necessary tools, let’s explore some basic gardening principles that everybody should know:

1. Sunlight

Most plants require sunlight to grow and thrive. Before planting, assess the amount of sunlight your garden receives throughout the day. This will help you choose the right plants for your space. Full-sun plants need at least six hours of direct sunlight, while shade-loving plants can thrive in areas with limited sunlight.

2. Soil Quality

Good soil is the foundation for a successful garden. Test your soil to determine its pH level and nutrient content. Most plants prefer a slightly acidic to neutral pH (around 6 to 7). If your soil is lacking in nutrients, consider adding organic matter such as compost or well-rotted manure to improve its fertility.

3. Watering

Watering is crucial for plant growth, but it’s important to strike a balance. Overwatering can lead to root rot and other diseases, while underwatering can cause plants to wilt and die. The frequency and amount of water needed depend on factors such as plant type, weather conditions, and soil moisture. Water deeply and less frequently to encourage deep root growth.

4. Mulching

Mulching is the process of covering the soil surface with a layer of organic material such as wood chips, straw, or compost. Mulch helps to retain soil moisture, suppress weed growth, regulate soil temperature, and improve soil fertility. Apply a layer of mulch around your plants, leaving a small gap around the stems to prevent rot.

5. Pruning

In addition to providing sunlight, water, and nutrients, plants also benefit from regular pruning. Pruning involves removing dead or overgrown branches, stems, or flowers to promote healthy growth and improve the overall appearance of the plant. It is important to use clean and sharp tools when pruning to prevent the spread of diseases. Different plants have different pruning requirements, so it’s essential to research and understand the specific needs of each plant in your garden.

6. Pest Control

One of the challenges that gardeners face is dealing with pests that can damage or destroy their plants. There are various methods of pest control, including natural and chemical options. Natural methods include using companion plants, such as marigolds, to repel pests, attracting beneficial insects like ladybugs and lacewings, and using organic pest control products. Chemical options, such as pesticides, should be used as a last resort and only when necessary, as they can harm beneficial insects and the environment.

7. Crop Rotation

Rotating crops is an important practice in gardening to prevent the buildup of pests and diseases in the soil. By rotating the location of different plant families each year, you can disrupt the life cycles of pests and reduce the risk of soil-borne diseases. It is best to group plants with similar nutrient requirements together and avoid planting the same crop in the same spot for consecutive years.

By following these basic gardening principles, you can create a thriving and beautiful garden that brings you joy and satisfaction. Remember to observe your plants closely, make adjustments as needed, and enjoy the process of nurturing and growing your own little piece of nature.

Tips for a Thriving Garden

Now that you understand the basic principles of gardening, here are some additional tips to help you create a thriving garden:

1. Plan Your Garden

Before you start planting, take some time to plan your garden layout. Consider factors such as plant compatibility, growth habits, and aesthetic appeal. Group plants with similar water and sunlight requirements together to make watering and maintenance easier.

Think about the overall design of your garden. Will it be a formal garden with neatly arranged rows, or a more informal and natural-looking space? You can also incorporate elements such as paths, seating areas, and focal points to enhance the visual appeal of your garden.

2. Start with Easy-to-Grow Plants

If you are new to gardening, it’s best to start with easy-to-grow plants that are more forgiving. Herbs like basil, mint, and rosemary, as well as vegetables like tomatoes, lettuce, and radishes, are great options for beginners. As you gain experience and confidence, you can gradually expand your plant selection.

Consider the climate and soil conditions in your area when choosing plants. Some plants thrive in full sun, while others prefer partial shade. Similarly, certain plants require well-drained soil, while others can tolerate heavier clay soil. Research the specific needs of the plants you choose to ensure their success.

3. Practice Crop Rotation

Rotating crops is an effective way to prevent soil-borne diseases and maintain soil fertility. Avoid planting the same crop in the same location year after year. Instead, rotate your crops in different areas of your garden to reduce the risk of pests and diseases.

For example, if you grow tomatoes in one area of your garden this year, plant them in a different spot next year. This helps prevent the buildup of pests and diseases that can affect tomato plants. Additionally, rotating crops helps balance the nutrient levels in the soil, as different plants have different nutrient requirements.

4. Regular Maintenance

Maintaining your garden regularly is essential for its long-term health and productivity. This includes tasks such as weeding, pruning, fertilizing, and pest control. Regularly inspect your plants for signs of pests or diseases, and take appropriate action to prevent their spread.

Weeding is important to remove unwanted plants that compete with your garden plants for nutrients and water. Pruning helps shape and control the growth of your plants, while fertilizing provides them with the necessary nutrients for healthy growth. Pest control measures can include organic methods such as hand-picking pests or using natural insecticides.

5. Learn from Experience

Gardening is a continuous learning process. Observe how your plants respond to different conditions, experiment with new techniques, and learn from your successes and failures. Joining a gardening community or seeking advice from experienced gardeners can also provide valuable insights and support.

Keep a gardening journal to record your observations, including planting dates, watering schedules, and any issues or successes you encounter. This will help you track your progress over time and make informed decisions for future gardening endeavors.

Remember, gardening is not just about the end result of a beautiful and productive garden, but also about the joy and satisfaction that comes from nurturing plants and connecting with nature. Enjoy the process and embrace the learning journey that gardening offers.

Moving Plants from Outside to Inside

Moving Plants from Outside to Inside: A Guide to Transitioning Your Green Friends

moving plants from outside to inside

As the seasons change and the weather starts to cool down, it’s time to think about bringing your beloved outdoor plants inside. Whether you have a lush garden or a few potted plants on your balcony, moving them indoors can help protect them from the harsh elements and ensure their survival throughout the colder months. In this guide, we’ll walk you through the process of transitioning your plants from outside to inside, so you can continue to enjoy their beauty and benefits all year round.


1. Assess Your Plants

Before you start moving your plants indoors, take a moment to assess their health and condition. Look for any signs of pests, diseases, or damage that may need to be addressed before bringing them inside. It’s important to quarantine any plants that show signs of infestation or disease to prevent spreading to your other indoor plants.

2. Choose the Right Timing

Picking the right time to move your plants indoors is crucial for their successful transition. Ideally, you should bring them inside before the temperatures drop below 50°F (10°C) consistently. Sudden temperature changes can shock your plants and cause stress, so plan accordingly and keep an eye on the weather forecast.

3. Prepare Your Indoor Space

Before you start moving your plants, make sure you have a suitable indoor space ready to accommodate them. Consider factors such as lighting conditions, temperature, and humidity levels. Most indoor plants thrive in bright, indirect light, so try to find a spot near a window where they can receive adequate sunlight.

Additionally, be mindful of the temperature and humidity levels in your home. Most indoor plants prefer temperatures between 60°F (15°C) and 75°F (24°C) and moderate humidity. Avoid placing your plants near drafts, heating vents, or air conditioning units, as these can create unfavorable conditions for them.

4. Gradually Adjust Light Levels

When moving your plants from outside to inside, they will experience a significant change in light levels. To minimize stress and help them acclimate, gradually adjust the amount of light they receive. Start by placing them in a partially shaded area indoors and gradually increase their exposure to light over a few weeks.

5. Repot if Necessary

If your outdoor plants have outgrown their pots or if you notice signs of root-bound growth, it may be a good time to repot them. Choose a pot that is slightly larger than their current one and use a well-draining potting mix. Be gentle when repotting to avoid damaging the roots, and water the newly repotted plants thoroughly.

6. Water and Fertilize Appropriately

Indoor plants have different watering and fertilizing needs compared to their outdoor counterparts. While outdoor plants may receive water from rain and natural fertilizers from the soil, indoor plants rely on you for their care. Water your plants when the top inch of soil feels dry, and be cautious not to overwater, as this can lead to root rot.

As for fertilizing, use a balanced houseplant fertilizer according to the instructions on the packaging. During the winter months, when plants are in their dormant phase, reduce the frequency of fertilizing to once every two to three months.

7. Monitor for Pests

Indoor environments can sometimes be a breeding ground for pests such as aphids, spider mites, and fungus gnats. Regularly inspect your plants for any signs of infestation, such as yellowing leaves, sticky residue, or tiny webs. If you notice any pests, take immediate action to control them using organic or chemical methods.

8. Be Patient and Observant

Moving plants from outside to inside can be a significant change for them, and it may take some time for them to adjust. Be patient and observant, paying attention to any changes in their growth, appearance, or behavior. Adjust your care routine accordingly to ensure their continued health and well-being.

By following these steps, you can successfully transition your outdoor plants to an indoor environment and provide them with the care they need to thrive. Remember, each plant is unique, so it’s essential to understand their specific requirements and provide them with the best possible growing conditions. Enjoy the beauty and benefits of your green friends all year long!


Moving Plants from Outside to Inside
About Gardening

What Should Everybody Know About Gardening?

About Gardening

About Gardening
About Gardening

Gardening is a wonderful hobby that can bring joy, relaxation, and a sense of accomplishment. Whether you have a small balcony or a sprawling backyard, cultivating plants can be a rewarding experience. If you’re new to gardening or looking to improve your skills, here are some essential things that everybody should know about gardening.

1. Start with the Basics

Before diving into gardening, it’s important to understand the basics. Familiarize yourself with the different types of plants, their needs, and the climate they thrive in. Learn about soil composition, sunlight requirements, and watering techniques. This knowledge will help you make informed decisions and set a strong foundation for your gardening journey.

2. Plan and Prepare

Proper planning and preparation are key to successful gardening. Take the time to assess your space, considering factors like sunlight, shade, and wind patterns. Decide what type of garden you want – whether it’s a flower garden, a vegetable patch, or a mix of both. Plan the layout, taking into account the mature size of plants and their compatibility.

3. Choose the Right Plants

When selecting plants, choose varieties that are suitable for your climate and the amount of sunlight your garden receives. Consider the space available and the time you can dedicate to maintenance. Opt for plants that are well-suited to your gardening skills and experience. Native plants are often a good choice as they are adapted to the local environment.

4. Provide Proper Care

Plants require regular care to thrive. This includes watering, fertilizing, pruning, and pest control. Understand the specific needs of each plant and provide them with the appropriate care. Water plants deeply and consistently, but avoid overwatering. Use organic fertilizers and follow the recommended dosage. Regularly inspect your plants for signs of pests or diseases and take appropriate action.

5. Be Patient

Gardening is a journey that requires patience. Plants take time to grow, and not every seed will sprout. Be prepared for setbacks and learn from them. Gardening is also about observing and enjoying the process. Take the time to appreciate the beauty of each stage, from the first sprout to the blooming flowers or bountiful harvest.

6. Embrace Trial and Error

Don’t be afraid to experiment and learn from your mistakes. Gardening is a continuous learning process, and even experienced gardeners encounter challenges. If a plant doesn’t thrive in a particular spot, try moving it to a different location. If a certain technique doesn’t work, try a different approach. Each failure is an opportunity to grow and improve your gardening skills.

7. Connect with Other Gardeners

Joining a gardening community or connecting with other gardeners can be incredibly helpful. You can exchange tips, seek advice, and learn from their experiences. Gardening communities often organize workshops, plant swaps, and garden tours, providing opportunities to expand your knowledge and network.

8. Enjoy the Benefits

Finally, don’t forget to enjoy the benefits of gardening. Spending time outdoors, connecting with nature, and seeing your efforts pay off can be immensely rewarding. Gardening can also be a form of therapy, reducing stress and promoting mental well-being. Take the time to relax in your garden, appreciate the beauty around you, and savor the fruits of your labor.

In conclusion, gardening is a fulfilling and enriching activity that anyone can enjoy. By understanding the basics, planning and preparing, choosing the right plants, providing proper care, being patient, embracing trial and error, connecting with other gardeners, and enjoying the benefits, you can create a thriving garden that brings you joy and satisfaction.

How to stop a leaf from rotting permanently?

How to stop a leaf from rotting permanently?

How to stop a leaf from rotting permanently?

Leaves are an essential part of plants, playing a crucial role in photosynthesis and providing shade. However, when leaves start to rot, it can be a sign of decay and potential damage to the plant. Rotting leaves not only look unsightly, but they can also attract pests and spread diseases. If you’re wondering how to stop a leaf from rotting permanently, here are some effective methods to help you preserve the health and beauty of your plants.

1. Proper Watering

One of the main causes of leaf rot is overwatering. When plants receive more water than they need, the excess moisture can lead to fungal growth and rot. To prevent leaf rot, make sure you water your plants correctly. Different plants have different watering needs, so it’s essential to research the specific requirements of each plant species you have.

Generally, it’s best to water your plants deeply but infrequently. This allows the soil to dry out between watering sessions, preventing excess moisture from accumulating around the roots and leaves. Additionally, avoid watering the leaves directly, as this can create a humid environment that promotes fungal growth.

2. Improve Drainage

Inadequate drainage is another common cause of leaf rot. When water cannot drain properly from the soil, it becomes stagnant and creates a breeding ground for fungi and bacteria. To improve drainage, ensure that your plants are in well-draining soil and that their containers have drainage holes.

If you notice that the soil in your garden or potted plants is compacted or clayey, consider adding organic matter such as compost or peat moss. These amendments help loosen the soil, allowing water to flow freely and preventing waterlogged conditions that can lead to leaf rot.

3. Remove Diseased Leaves

If you spot any leaves showing signs of rot or disease, it’s crucial to remove them promptly. Diseased leaves can spread pathogens to healthy parts of the plant, leading to further rot and damage. Use clean pruning shears or scissors to cut off the affected leaves, making sure to disinfect the tools between cuts to prevent cross-contamination.

Dispose of the diseased leaves properly, either by sealing them in a plastic bag or burning them. Do not compost them, as this can reintroduce the pathogens back into your garden or potted plants.

4. Provide Adequate Air Circulation

Good air circulation is essential for preventing leaf rot. When plants are overcrowded or placed in areas with poor ventilation, the excess humidity can create an environment conducive to fungal growth. To promote air circulation, space out your plants and avoid overcrowding them.

If you have potted plants indoors, consider using a small fan to increase air movement around the plants. Outdoors, you can prune nearby branches or foliage to allow more airflow. By improving air circulation, you can reduce the chances of leaf rot and keep your plants healthier.

5. Use Organic Fungicides

If you’ve tried the above methods and still struggle with leaf rot, you may consider using organic fungicides as a last resort. Organic fungicides are made from natural ingredients and are less harmful to the environment compared to synthetic alternatives.

Before using any fungicide, carefully read and follow the instructions provided by the manufacturer. Apply the fungicide as directed, focusing on the affected areas and surrounding foliage. Remember to wear protective gloves and clothing to avoid any contact with the product.

While organic fungicides can help control leaf rot, it’s important to address the underlying issues such as watering and drainage to prevent future occurrences.

Conclusion

Leaf rot can be a frustrating problem for plant enthusiasts, but with the right techniques, it can be prevented. By following proper watering practices, improving drainage, removing diseased leaves, promoting air circulation, and using organic fungicides when necessary, you can stop leaves from rotting permanently and ensure the health and vitality of your plants.

Remember, each plant species has its own specific needs, so it’s essential to research and understand the requirements of your plants to provide them with the best care possible. With a little attention and care, you can enjoy vibrant and healthy leaves all year round.


How to stop a leaf from rotting permanently?
Plant Care Top Tips

Best Plant Care Top Tips for a Disease-Free Garden

Plant Care Top Tips

Gardening can be an incredibly rewarding hobby, but it’s also one that requires a lot of effort. You need to take care of your plants if you want them to thrive and grow strong. One of the biggest challenges you’ll face as a gardener is keeping your plants healthy and free from diseases. With that in mind, we’ve put together a list of top tips to help you create a disease-free garden.

1. Start with Healthy Plants

The best way to ensure a disease-free garden is to start with healthy plants. When purchasing new plants, look for ones that have lush green leaves and sturdy stems. Avoid plants that are wilted, yellowing, or have any signs of disease. It’s also important to choose plants that are appropriate for your climate and soil type.

Plant Care Top Tips
Plant Care Top Tips

2. Use Good Garden Practices

Good garden practices can go a long way in keeping your plants healthy. This includes things like proper watering, fertilizing, and pruning. Make sure you know the specific needs of each plant in your garden, and stick to a regular watering and fertilizing schedule.

3. Keep Your Garden Clean

Keeping your garden clean is another important step in preventing disease. This means removing dead leaves, stems, and debris on a regular basis. Doing so helps to prevent the buildup of moisture, which can create the ideal conditions for disease-causing fungi and bacteria to thrive.

4. Control Pests

Pests can also play a role in spreading disease. It’s important to keep an eye out for any signs of pest infestations, such as holes in leaves or sticky sap. If you do notice pests, take action right away to control them. This can include things like using insecticidal soap, planting companion crops, or releasing beneficial insects.

5. Avoid Overcrowding

Overcrowding your garden can also lead to disease. When plants are too close together, they can compete for resources and create a humid environment that’s perfect for disease-causing organisms. Make sure you plant your crops in a way that allows for adequate air flow, and consider removing any plants that are not thriving.

6. Rotate Crops

Another way to keep your garden disease-free is to rotate your crops. This entails growing different crops in the same area year after year. This helps to break up the lifecycle of any diseases present in the soil.

7. Monitor for Disease

Finally, it’s important to keep an eye out for any signs of disease in your garden. This includes things like yellowing leaves, wilting, or the presence of mold or mildew. If you do notice any symptoms, take action right away to treat the disease and prevent it from spreading to other plants.

In conclusion, keeping a disease-free garden requires a little bit of effort, but it’s well worth it in the end. By following these top tips, you can create a beautiful and healthy garden that will provide you with years of enjoyment. With the right care, your plants will grow strong and resist disease, allowing you to fully enjoy your gardening hobby.

Pamper Your Furry Friend With These 8 Simple Tips

Caring For Your Indoor Plants

Tips on Caring For Your Indoor Plants During The Fall Season

Tips on Caring For Your Indoor Plants During The Fall Season

Fall is an exciting season to get outside and enjoy the cool air and changing leaves. But while you’re outside enjoying fall, don’t forget about your indoor plants! Caring for houseplants during the fall season can be tricky, as temperatures and sunlight levels can vary greatly. In this article, we’ll discuss tips on how to care for your indoor plants during the fall so they can thrive throughout the cooler months. From adjusting watering habits to giving them adequate sunlight, follow our advice and your indoor plants will remain happy and healthy all autumn long.

Caring For Your Indoor Plants

The Different Types of Indoor Plants

Indoor plants are a great way to add some life to your home, and they can be easy to care for if you choose the right type of plant. Here are some different types of indoor plants that you might want to consider:

  1. Succulents: Succulents are a great option for indoor plants because they don’t require a lot of water or maintenance. They come in a variety of shapes and sizes, so you can find one that fits your space.
  2. Ferns: Ferns are another good option for indoor plants. They’re relatively easy to care for and don’t require a lot of light. They come in a variety of colors and textures, so you can find one that fits your décor.
  3. Snake Plants: Snake plants are a good choice for indoor plants because they’re low-maintenance and don’t require much water. They’re also known for being able to purify the air, so they’re a great choice if you want to improve the air quality in your home.
  4. Spider Plants: Spider plants are another easy-to-care-for option for indoor plants. They don’t require much water or light, and they’re known for being able to purify the air. They come in a variety of colors, so you can find one that fits your décor.

The Best Location for Your Indoor Plants

When the weather outside starts to cool down, it’s time to start thinking about moving your plants indoors. But where is the best place to put them? Here are a few tips on finding the best location for your indoor plants:

  1. Pick a spot with good light. Your plants will need plenty of light to thrive indoors, so choose a spot near a window where they can get plenty of sunlight.
  2. Avoid drafty areas. Cold drafts can be harmful to your plants, so avoid placing them near doors or windows where there might be a draft.
  3. Consider humidity levels. Some plants like high humidity, while others prefer low humidity. Pay attention to the needs of your particular plant and choose a spot accordingly.
  4. Think about temperature. Just like people, plants prefer different temperatures depending on their species. Make sure you know what temperature range is ideal for your plant before placing it in its new home.

By following these tips, you’ll be sure to find the perfect spot for your indoor plants this fall!

Proper watering for your indoor plants during the fall season

As the weather starts to cool down and the days get shorter, you’ll need to pay closer attention to your indoor plants and their watering needs. Here are some tips on how to properly water your plants during the fall season:

  • Water your plants more frequently than you did during the summer, as they will be losing water faster due to the cooler temperatures.
  • Regularly check the soil to see if it is dry. If the soil feels dry when you stick your finger up to your first knuckle, it’s time to water.
  • Don’t let your plants sit in water – make sure to empty out any excess water from saucers or trays after watering.
  • Give your plants a deep watering, soaking the soil until water runs out of the drainage holes. This will help them develop strong roots.

Fertilizing your indoor plants during the fall season

As the days grow shorter and the temperatures start to cool, your plants will begin to enter into a state of dormancy. During this time, they will need less water and fertilizer as they prepare for winter.

However, that doesn’t mean you should neglect your plants entirely! They still need some nutrients to stay healthy and strong through the colder months.

One way to give them the boost they need is by fertilizing them during the fall season. This will help them produce more food (through photosynthesis) and store up energy for the winter.

There are a few things to keep in mind when fertilizing your indoor plants during the fall:

  1. Use a light hand – Since plants are already entering into a dormant state, they won’t need as much fertilizer as they do during other times of the year. Over-fertilizing can actually do more harm than good, so it’s important to use a light hand.
  2. Choose an organic fertilizer – An organic fertilizer will release nutrients slowly over time, which is perfect for fall since plants are growing more slowly at this time of year. Look for an organic fertilizer that is low in nitrogen and high in phosphorus and potassium. These nutrients will encourage root growth and help your plants store energy for winter.
  3. Apply the fertilizer around the base of the plant – Be sure to apply the fertilizer around the base of the plant, rather than on the

Preventing pests and diseases in your indoor plants during the fall season

The fall season can be tough on your indoor plants. The days are shorter, the temperatures are cooler, and the humidity is lower, all of which can stress your plants and make them more susceptible to pests and diseases. But there are a few things you can do to help your plants stay healthy during the fall season.

First, make sure you’re watering your plants regularly. They may not need as much water as they did during the summer, but they still need enough to stay hydrated. Second, keep an eye out for pests and diseases. If you see any signs of pests or diseases, treat them immediately. Third, fertilize your plants regularly. A good fertilizer will help them stay healthy and vigorous throughout the fall season.

By following these tips, you can help your indoor plants stay healthy and happy all fall long!

Conclusion

Taking care of your indoor plants during the fall season is essential for their health and vitality. With our advice, you can enjoy lush green foliage that will add life to any space, even as temperatures drop outside. Remember to adjust your watering schedule based on the changes in light, humidity, and temperature while keeping an eye out for pests and signs of illness. Following these tips will ensure that your plants stay healthy throughout fall so they can thrive when springtime arrives!

Ear Mites On Dogs: What You Need To Know

Prayer Plant Leaves Curling

Prayer Plant Leaves Curling: What Should You Do?

Prayer Plant Leaves Curling: What Should You Do?

If you have a prayer plant that is experiencing leaves curling, there are a few things you can do to help. First, check the plant’s environment and make sure it is not too hot or too cold. Prayer plants like humid environments, so if the air is too dry, try misting the leaves with water. You can also fertilize your plant to help it get the nutrients it needs. If you continue to see leaves curling, consult a plant expert for further advice.

Prayer Plant Leaves Curling

Causes of Prayer Plant Leaves Curling

One of the most common reasons for prayer plant leaves curling is underwatering. Prayer plants are native to tropical rainforests, so they prefer consistently moist soil. Allow the top few inches of soil to dry out before watering again.

If the leaves are still curling after you’ve adjusted your watering schedule, it could be a sign of too much direct sunlight. Prayer plants do best in bright, indirect light. Move your plant to a spot that gets less sun and see if the leaves uncurl.

If your prayer plant’s leaves are curling and the tips are browning, it could be a sign of too much fertilizer. Fertilize prayer plants sparingly, no more than once a month during the growing season. Use a diluted liquid fertilizer or granular fertilizer formulated for houseplants and follow the package directions carefully. Overfertilizing can damage prayer plants, causing their leaves to curl and turn brown.

Prayer plants are also susceptible to pests, like spider mites and mealybugs. These tiny pests suck the sap from prayer plant leaves, causing them to curl and turn brown. Inspect your plant carefully for signs of pests, such as webbing or small white bugs. If you find pests on your plant, treat it with an insecticidal soap or neem oil according to package directions

What to Do if Your Prayer Plant Leaves are Curling

If your prayer plant leaves are curling, it is important to identify the cause so that you can take appropriate action. The most common causes of curling leaves are environmental stressors, such as too much or too little water, direct sunlight, or drafty conditions. Once you have identified the cause, you can take steps to improve the environment for your plant.

If too much water is the problem, allow the soil to dry out completely between watering. If too little water is the issue, increase watering frequency or quantity. If direct sunlight is causing the leaves to curl, move the plant to a location with indirect light. And if drafts are the problem, try moving the plant to a different location in your home or office.

With proper care, your prayer plant will soon recover and resume normal growth.

How to Prevent Prayer Plant Leaves from Curling

If you notice your prayer plant’s leaves beginning to curl, there are a few things you can do to prevent further damage. First, check the moisture level of the soil. If it is too dry, water your plant and make sure the pot has drainage holes to allow for proper drainage. You can also mist your plant regularly to increase humidity.

Another factor that can cause leaf curling is too much direct sunlight. Move your plant to a location with indirect light or filter the light with a sheer curtain. Lastly, make sure the temperature around your plant is not too hot or cold as extreme temperatures can also cause leaves to curl. By following these steps, you should be able to prevent your prayer plant’s leaves from curling in the future.

Prayer Plant Leaf Curl Solutions

If you notice your prayer plant’s leaves starting to curl, there are a few potential solutions. First, check the humidity around your plant. Prayer plants prefer humid environments, so if the air is too dry, that could be causing the leaf to curl. Try setting a humidifier near your plant or placing it on a pebble tray filled with water. You can also mist the leaves with water regularly.

If humidity isn’t the issue, examine your plant’s light situation. Too much direct sunlight can cause leaf curl, so try moving your plant to a spot that gets indirect light throughout the day. If you can’t provide enough natural light, supplement with artificial grow lights.

Finally, consider whether or not your plant is getting enough water. Overwatering can lead to leaf curl, so make sure you’re letting the soil dry out between waterings. If you think you may be overwatering, try watering less frequently or allowing the plant to sit in a sink of water for a few minutes before draining it and returning it to its pot.

Conclusion

Once you determine the cause of your prayer plant leaves curling, you can take steps to correct the problem. If the leaves are curling due to too much water, allow the soil to dry out completely before watering again.

If the leaves are curling due to too little water, water more frequently and/or increase humidity around the plant. If the temperature is the issue, move your plant to an area that better suits its needs. With a little care, your prayer plant will be healthy and thriving in no time!

What Are Pinky Rats? And Why You Should Have One

10 Of The Best Outdoor Foliage Plants To Grow

10 Of The Best Outdoor Foliage Plants To Grow

10 Of The Best Outdoor Foliage Plants To Grow

When it comes to plants, there are many different varieties that can be grown outdoors. Some plants thrive in cold weather and some plants prefer warmer climates. Some plants like total shade and others prefer partial shade. Regardless of the type of environment you live in, we’ve compiled a list of 10 of the best outdoor plants to grow.

Top 10 Foliage Plants to Grow

These plants are a great way to add color and interest to your garden. They come in a wide variety of shapes, sizes, and colors, and they can be used to create beautiful displays.

Here are 10 of the best outdoor foliage plants to grow: foliage plants names

  1. Boxwood (Buxus sempervirens) – A classic evergreen shrub that is easy to care for and maintain. It can be used as a hedge, privacy screen, or specimen plant.
  2. Hydrangea (Hydrangea macrophylla) – A showy shrub with large clusters of flowers that come in a variety of colors. It does best in partial shade and moist soil.
  3. Hosta (Hosta spp.) – A popular perennial that comes in many different sizes, shapes, and colors. It is tolerant of shade and makes a great addition to any garden.
  4. Fuchsia (Fuchsia spp.) – A colorful plant that produces beautiful flowers in shades of pink, purple, and red. It thrives in either direct sunlight or light shade.
  5. impatiens (Impatiens spp.) – A popular annual that comes in

Caring for Your Foliage Plant

When it comes to these plants, there are a few things to keep in mind in order to keep them healthy and looking their best. First of all, they need bright light but not direct sunlight. This means placing them near a window where they will get plenty of light but not be in direct sun.

10 Of The Best Outdoor Foliage Plants To Grow

It’s also important to water your plants regularly. Allow the soil to dry out somewhat between watering, but don’t let it become completely dry. Over-watering can also be a problem, so be sure to drain holes in the pot and don’t let the plant sit in water.

Fertilize your plants every few weeks during the growing season with a high-quality fertilizer. They can maintain their health and best appearance by doing this.

Finally, if you notice any problems with your plant, such as pests or diseases, be sure to address them right away. Catching problems early is the key to keeping your plant healthy.

How to Collect and Prepare the Seeds of a Flowering Plant-foliage plants outdoor

To collect and prepare the seeds of a flowering plant, you will need to wait until the flowers have died back and the seed pods have dried out. Once the pods are dry, you can open them up and remove the seeds.

The next step is to clean the seeds. You can do this by using a fine mesh strainer to remove any debris. After the seeds are clean, you will need to dry them completely before storing them.

To store the seeds, you can put them in an envelope or a jar. Be sure to label the envelope or jar with the name of the plant and the date that you collected the seeds. Store the seeds in a cool, dark place until you are ready to plant them.

How to Groom your Potted Plant

  1. Potted plants need just as much grooming as plants that are grown in the ground. If you have a potted plant, here are some tips on how to keep it healthy and looking its best.

First, make sure that you are using the right type of potting soil. Different types of soil suit some plants more than others. If you’re not sure what type of soil your plant needs, ask a nursery or garden center employee for help.

Second, water your plant regularly. Before watering, make sure the soil is dry by checking. Overwatering can be just as harmful to a plant as underwatering.

Third, fertilize your plant according to the manufacturer’s instructions. Fertilizing helps a plant to grow strong and healthy. However, too much fertilizer can damage a plant.

Fourth, groom your plant regularly by removing dead leaves and stems. This helps the plant to look its best and also allows new growth to come in.

By following these tips, you can keep your potted plant healthy and looking its best.

When to Prune?-foliage plant care

Pruning is an important part of keeping your outdoor plants healthy and looking their best. But when is the best time to prune?

For most plants, the best time to prune is in the late winter or early spring. This gives the plant time to heal from the pruning before new growth begins in the spring.

Some plants, such as evergreens, should not be pruned in the late winter or early spring. This can damage the plant and cause it to produce new growth that is vulnerable to frost damage. Evergreens should be pruned in the summer or fall.

Pruning at the wrong time of year can damage your plants, so be sure to consult a gardening expert or reference book before you start cutting. With a little care and attention, you can keep your outdoor foliage plants looking beautiful all year long.

best indoor foliage plants

  • Yucca
  • Fiddle Leaf Fig
  • African Candelabra
  • Tree Fern
  • Rubber Tree

Creating a Container Garden-foliage plants indoor care

Creating a container garden is a great way to add some greenery to your outdoor space. There are a few things to keep in mind when creating a container garden. First, choose the right size container for your space. You don’t want a container that is too large or too small for the area you have. Second, choose plants that are appropriate for the amount of sunlight the area gets. While some plants like full light, others thrive under some shade. Third, make sure the plants you choose are appropriate for the climate you live in. Some plants need warm weather, while others can tolerate cold weather.

Once you have chosen the right container and plants for your garden, it’s time to get started. Begin by adding some soil to the bottom of the container. Then, add your plants and water them well. Be sure to water them regularly, as they will need them to grow and thrive. With a little care and attention, your container garden will be flourishing in no time!

How To Treat A Cat With Pink Eye

What are foliage plant used for?

Plants considered to have attractive, colourful, and intriguing leaves are called foliage plants. These plants can add interest to gardens and meet a variety of demands for shade, colour, and cover.

Do foliage plants need sunlight?

Indirect natural light is the greatest for foliage plants to grow in. Put them somewhere bright and sunny, but out of the direct sun.

What is a example for foliage?

All of the leaves on trees that change colour in the fall are an example of foliage.

Is a foliage plant indoor or outdoor?

These indoor plants are cultivated more for their gorgeous and fascinating leaves than for their flowers.
How to Control Your Anger to Get the Best Out of Life | 2 ways to control your anger
helianthus annuus life cycle

helianthus annuus life cycle and uses

helianthus annuus life cycle

If you’re looking for a plant that will add beauty and fragrance to your garden, consider helianthus annuus. This perennial sunflower is an annual flower that grows best in full sunlight. Learn about its life cycle, uses, and where to buy it.

Helianthus annuus overview

The sunflower (Helianthus annuus) is a perennial plant that grows up to one meter in height. It has large, golden flowers that bloom from May to July. The sunflower is a popular garden and landscaping plant due to its bright color, time of flowering, and hardiness.
Sunflowers are used for food, fiber, oil, and seed production. The seeds are eaten as a vegetable or used in bread and other baked goods. Cooks can also utilize the stem and leaves.

helianthus annuus life cycle
helianthus annuus life cycle – Image by S. Hermann & F. Richter from Pixabay

The sunflower has a long life cycle, with the first flowers blooming in early May and the last flowers blooming in late July. The sunflower will grow back from the roots if it is cut down, but it will not bloom again until the next season.

Uses for helianthus Annuus

Helianthus annuus, or sunflower, is a versatile crop that can be used for a variety of purposes. Sunflower is a great choice for both fresh and dried products, such as flower petals, seeds, oil, and flour. Here are some of the various ways sunflower is used:

-Flower petals: Sunflower petals are popular in dried arrangements and make a beautiful addition to bouquets. They are also used in herbal tea blends.

-Oil: Sunflower oil has a high smoke point and is perfect for cooking. It is also popular for skin care products and hair care products.

-Seeds: The seeds are an excellent source of protein, fiber, and minerals. They can be eaten as is or ground into flour to make bread, pasta, and other foods.

Helianthus annuus life cycle

The life cycle of Helianthus annuus starts with the germination of pollen. Pollination happens when the pollen from the male organ of a flower is transferred to the female organ. The flowers then produce seeds that will grow into new plants.

The uses for Helianthus annuus include flowers for decoration, food, and fuel.

helianthus Annuus perennial

Do you want to know if a particular plant is perennial? perennial, technically means that the plant will live for more than one year. Well, there’s a quick and easy way to find out – just ask it! That’s what scientists at the University of Western Ontario did when they put a question about whether a particular plant, helianthus annuus, was perennial into a machine learning algorithm and got an answer back in under two seconds.

So if you want to know the answer to a question about plants, don’t ask an expert – ask a machine!

How does Helianthus Annuus grow?

Helianthus annuus is a perennial sunflower that can reach up to 6 feet in height. It has a deep blue color and a dense, bushy habit. The plants are capable of producing a large number of flowers each season, which can range in color from white to pink or purple.

Is Helianthus Annuus a perennial?

Helianthus annuus is a perennial sunflower that can grow up to 3 feet tall. It has an average lifespan of around 10 years but can live up to 30 years in some cases.

What are the benefits of growing helianthus annuus?

Helianthus annuus is a perennial flower that has many benefits for the gardener. This plant can be grown in a variety of climates, making it a popular choice for home gardeners. Some of the benefits of growing helianthus annuus include:

Helianthus annuus can grow up to 6 feet tall and wide, making it a large flower option for the garden.

This plant is drought-tolerant and can be grown in a variety of soils, including clay soil.

The flowers of helianthus annuus are brightly colored and attractive to bees and other pollinators.

The leaves of helianthus annuus are bright green and have a nice texture. They provide shade and shelter to the root system of the plant.

The seeds of helianthus annuus are easy to germinate and will grow quickly in the garden.

Conclusion

Thank you for reading! In this article, we are going to be discussing the topic of is helianthus annuus perennial. We will be discussing its definition, common uses, and how to identify it. Finally, we will provide you with some tips on how to care for helianthus annuus perennial. I hope that you found this information helpful!

Beginner’s Guide To Saltwater Aquarium Fish