Tag Archives: StepbyStep

How to create a butterfly garden?

Step-by-Step Guide: How to Create Your Own Stunning Butterfly Garden-by ecorganicas

Butterfly gardens are a beautiful and peaceful addition to any outdoor space. Creating your own stunning butterfly garden can be a rewarding and relaxing experience, as it provides a haven for these delicate creatures to thrive and adds a splash of color to your yard. Here is a step-by-step guide on how to create your own butterfly garden:

1. Choose the Right Location: The first step in creating a butterfly garden is to choose the right location. Butterflies are cold-blooded creatures, so they need plenty of sunlight to warm up and thrive. Look for a spot in your yard that receives at least six hours of sunlight per day. Additionally, butterflies are attracted to sheltered areas with some protection from the wind, so try to create a garden in a slightly sheltered spot.

2. Plan Your Garden Design: Next, plan out the design of your butterfly garden. Think about the types of plants you want to include, as well as any features such as a butterfly feeder or a small water source. Consider planting a variety of flowers in different heights and colors to attract a diverse range of butterfly species.

3. Choose the Right Plants: When selecting plants for your butterfly garden, opt for species that are known to attract butterflies. Some good choices include butterfly bush, coneflowers, lantana, milkweed, and zinnias. Choose plants that bloom at different times throughout the year to provide nectar for butterflies all season long. Additionally, consider planting some host plants for butterfly larvae to feed on, such as milkweed for monarch butterflies.

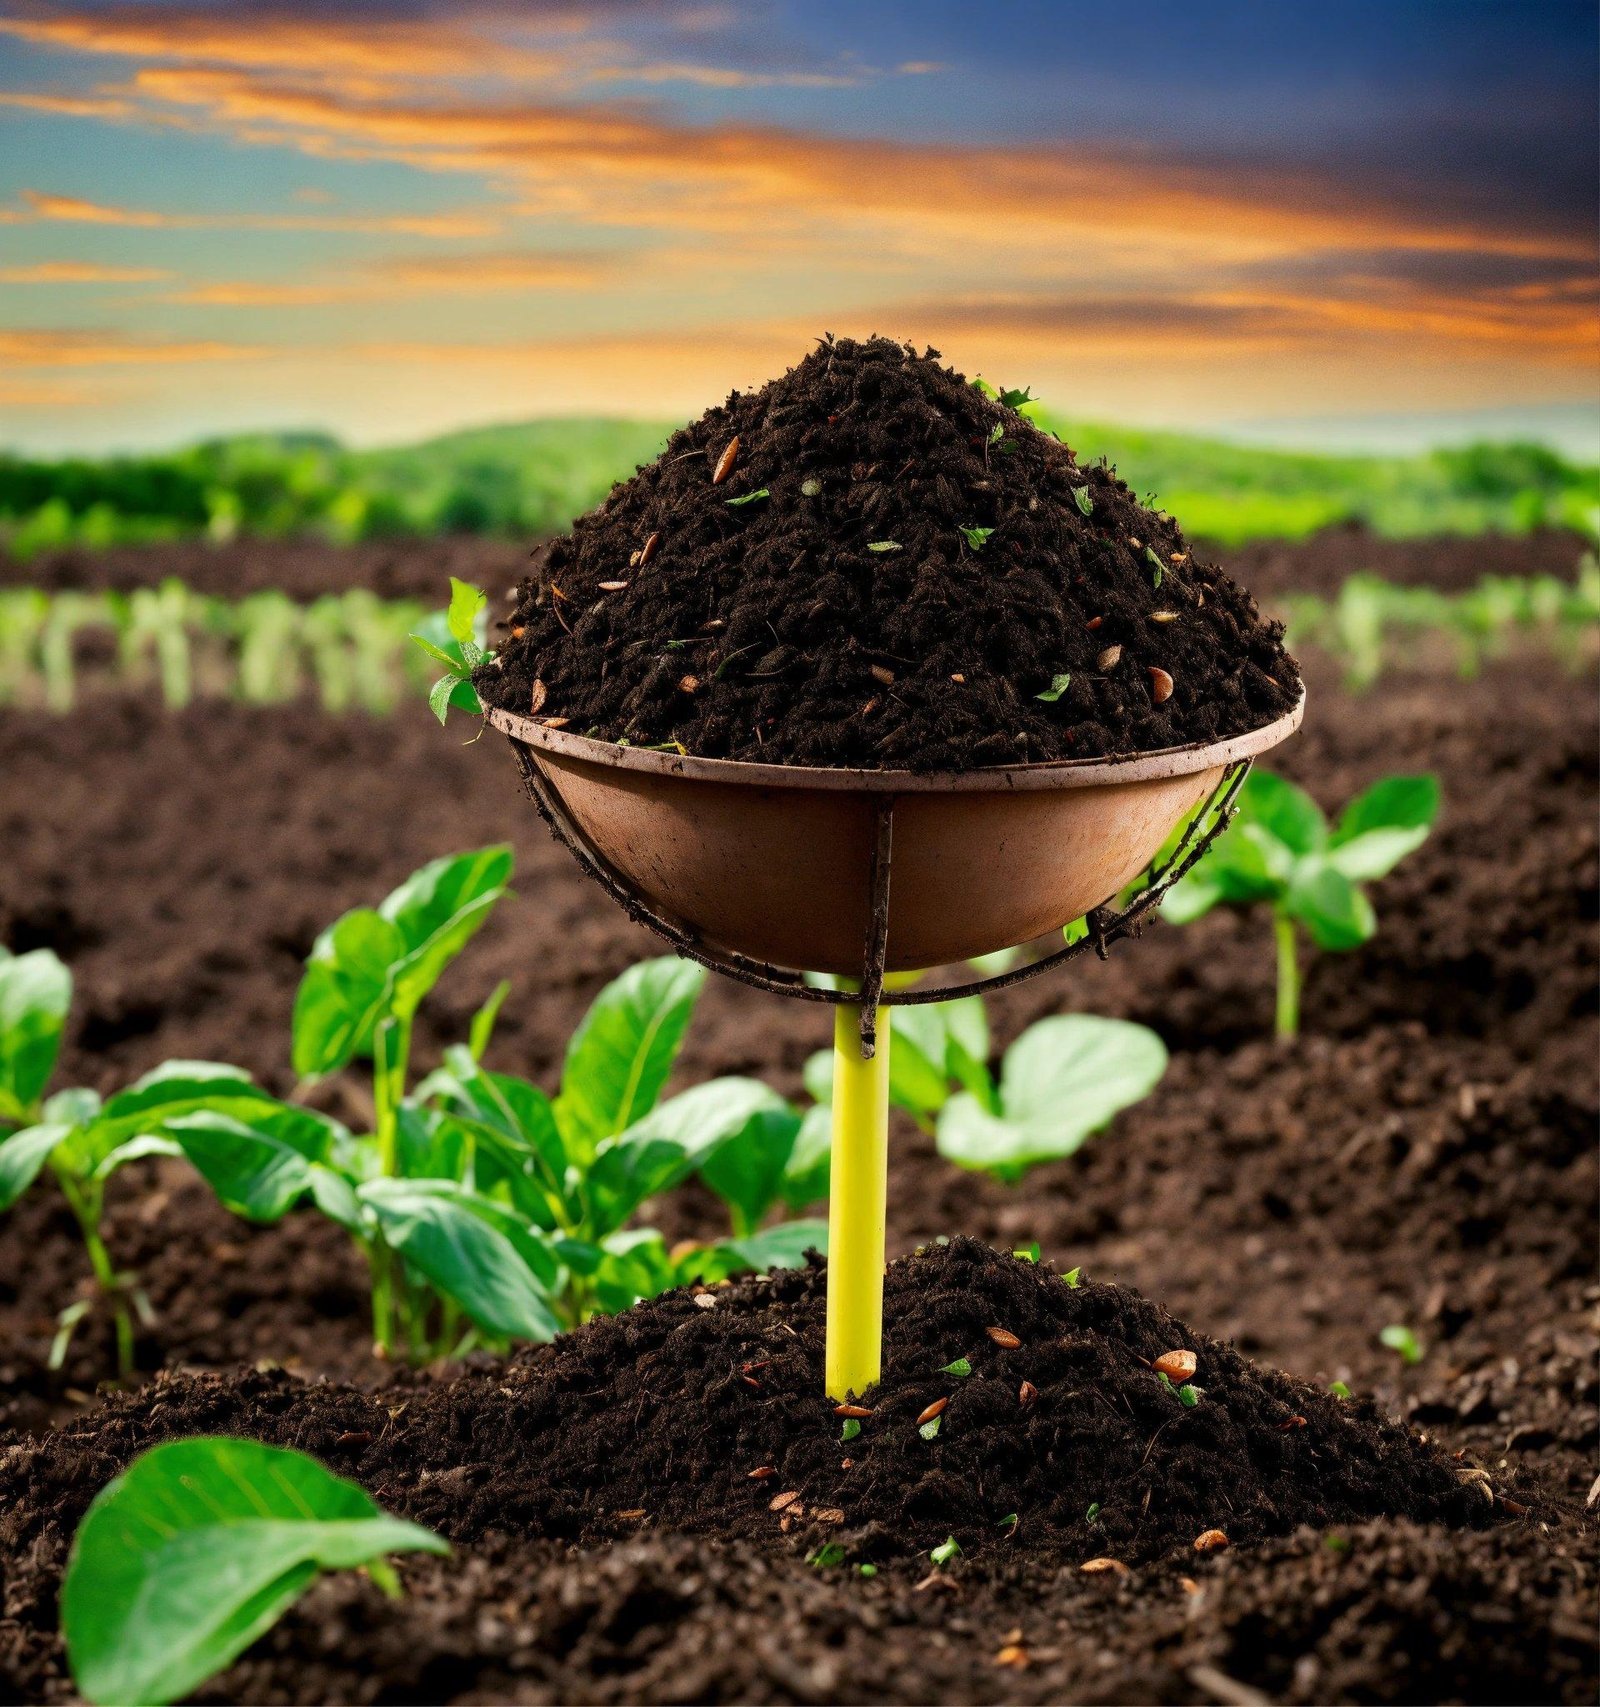
4. Prep Your Soil: Before planting your butterfly garden, make sure to prepare the soil properly. Loosen the soil and add compost or other organic matter to improve drainage and provide nutrients for your plants. Make sure to water the soil thoroughly before planting to give your plants a healthy start.

5. Plant Your Garden: Once your soil is prepped, it’s time to plant your butterfly garden. Start by arranging your plants according to your design plan, keeping in mind the heights and spacing of each plant. Dig holes slightly larger than the root balls of your plants and gently place them in the holes. Fill in with soil and water thoroughly.

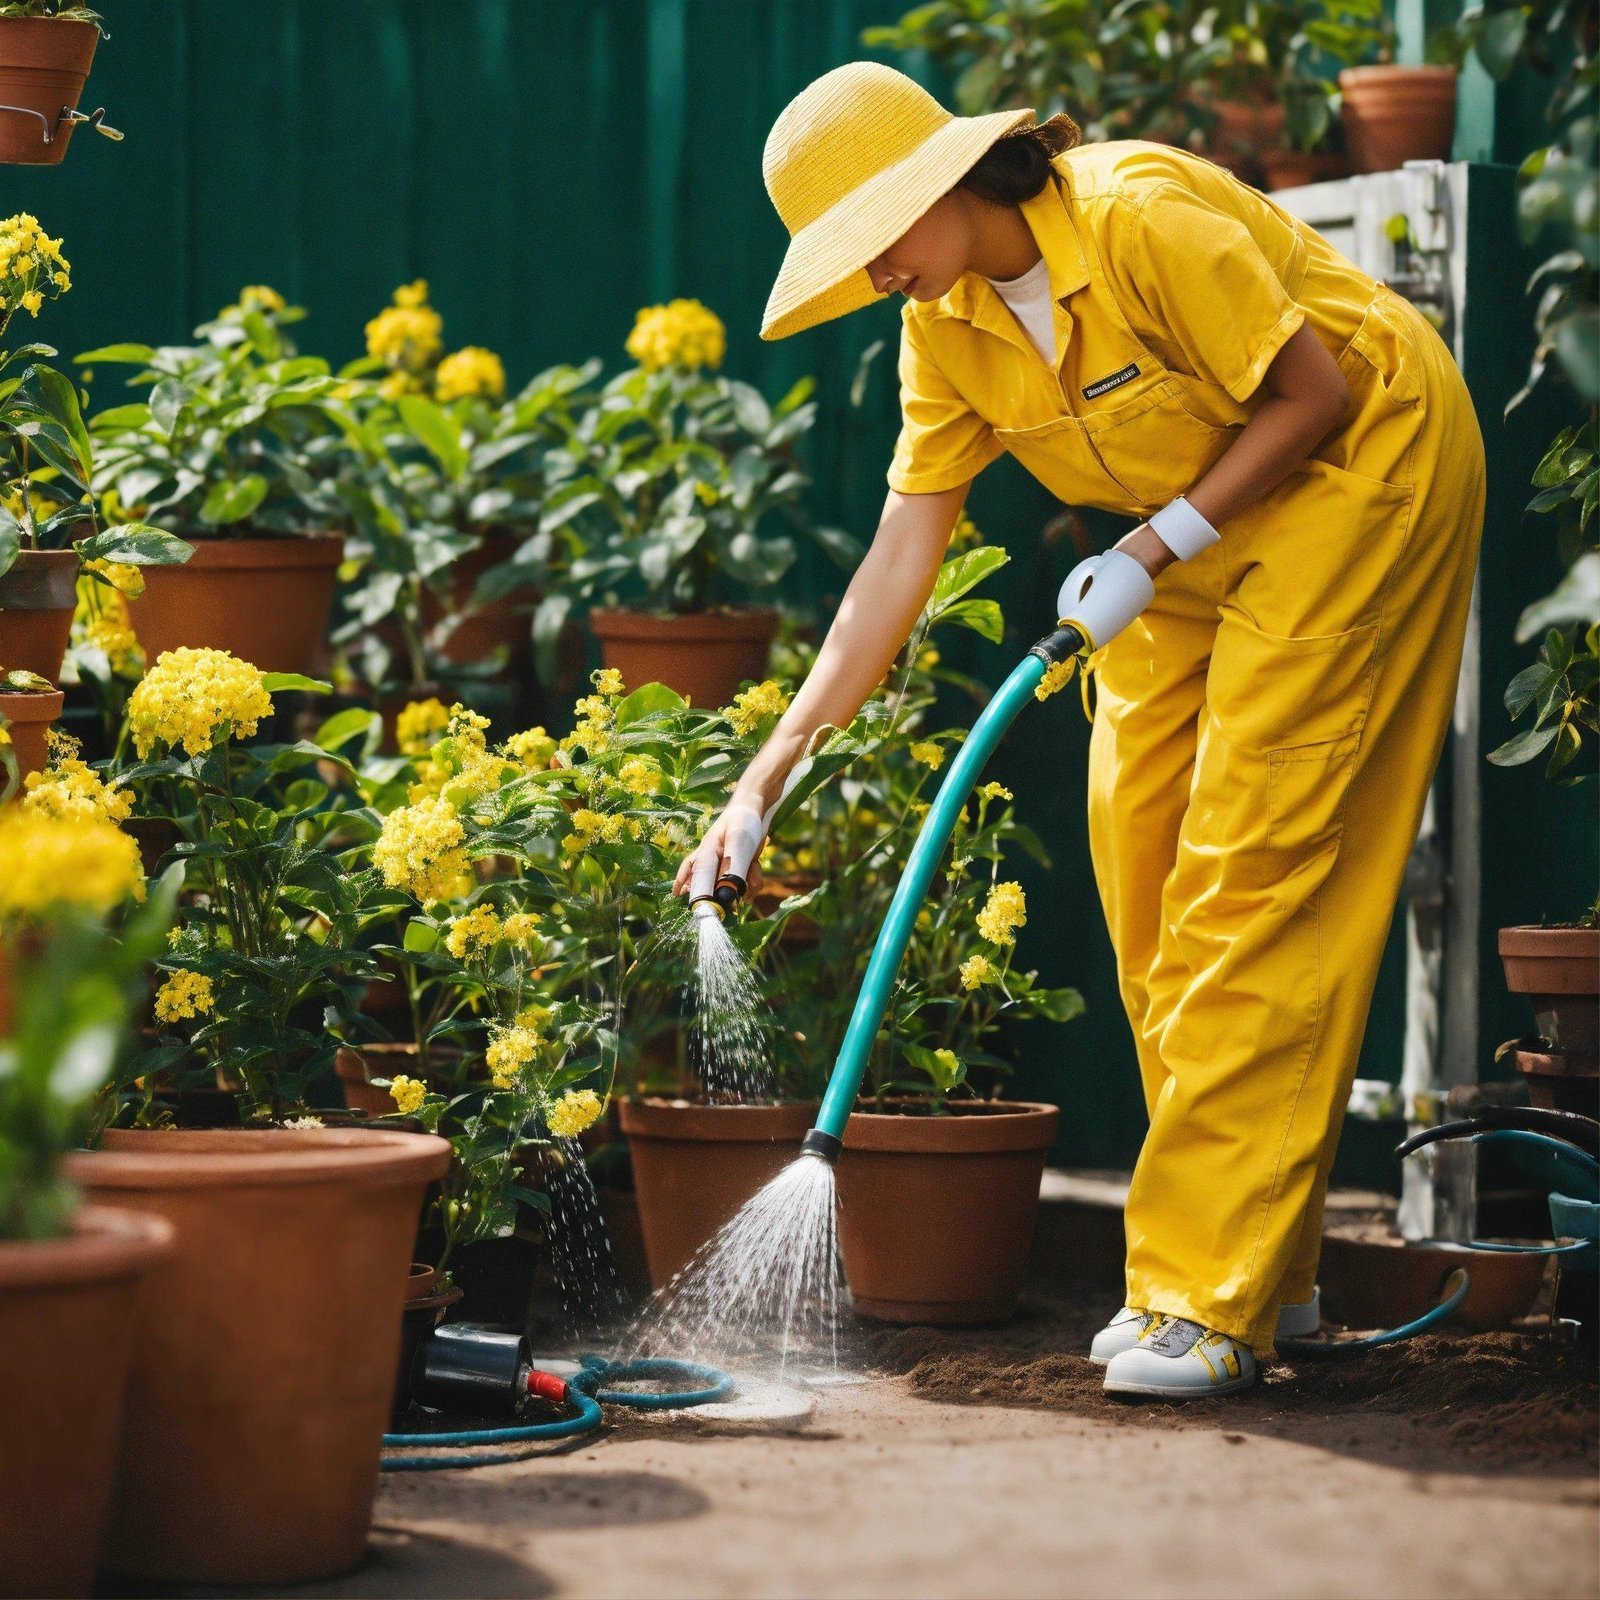
6. Maintain Your Garden: To keep your butterfly garden looking stunning, be sure to maintain it regularly. Water your plants regularly, especially during dry spells, and remove any weeds that may pop up. Deadhead spent flowers to encourage new blooms and prune any overgrown plants as needed. Consider adding a layer of mulch around your plants to help retain moisture and discourage weeds.

7. Attract Butterflies: To attract butterflies to your garden, consider adding a few extra features. Create a small butterfly feeder with a mix of rotting fruit and sugar water, or set out a shallow dish of water with a few pebbles for butterflies to rest on. You could also add a butterfly house or a few rocks or logs for butterflies to bask in the sun.

Creating your own stunning butterfly garden is a rewarding experience that will bring beauty and joy to your outdoor space. By following these simple steps, you can create a haven for butterflies and enjoy the peaceful presence of these graceful creatures in your yard.
#StepbyStep #Guide #Create #Stunning #Butterfly #Garden
How to create a butterfly garden?

How to prune plants correctly?

Mastering the Art of Pruning: A Step-by-Step Guide for Healthy Plants-by ecorganicas

Pruning is a crucial part of maintaining healthy plants and ensuring they continue to grow and thrive. By properly pruning your plants, you can encourage new growth, improve air circulation, and shape the plant to your desired size and form. While it may seem daunting at first, mastering the art of pruning is actually quite simple with the right techniques and tools. In this step-by-step guide, we will cover everything you need to know to successfully prune your plants.

The first step in pruning your plants is to properly identify the type of plant you are working with. Different plants require different pruning techniques, so it’s important to know what you are dealing with before you get started. Some common types of plants that may need pruning include trees, shrubs, hedges, and vines.

Next, assess the overall health and shape of the plant. Look for any dead, diseased, or damaged branches that need to be removed. These branches can be a breeding ground for pests and diseases, so removing them is essential for the overall health of the plant. Additionally, removing any crossing or rubbing branches will help improve air circulation and prevent future issues.

Once you have identified the branches that need to be pruned, it’s time to gather the necessary tools. Sharp pruning shears are essential for making clean cuts and preventing damage to the plant. For larger branches, loppers or a pruning saw may be necessary. Make sure that your tools are sharp and clean before you begin pruning.

When making cuts, it’s important to cut at the proper angle to promote healthy growth. For most plants, a 45-degree angle cut just above a node or bud is ideal. Avoid leaving stubs or cutting too close to the bud, as this can cause damage to the plant and impede growth. Additionally, make sure to clean your tools between cuts, especially if you are working with diseased plants, to prevent the spread of any pathogens.

After pruning, it’s important to properly dispose of any debris. Remove any cut branches and leaves from the area around the plant to prevent the spread of pests and diseases. If the plant is diseased, make sure to clean and disinfect your tools before using them on other plants to prevent the spread of the disease.

Finally, water and fertilize the plant as needed to encourage new growth. Proper feeding and watering will help the plant recover from pruning and thrive in the coming months.

In conclusion, mastering the art of pruning is essential for maintaining healthy plants. By following these simple steps and techniques, you can keep your plants looking their best and ensure their continued growth and vitality. With the right tools, knowledge, and practice, you can become a master pruner in no time. Happy pruning!
#Mastering #Art #Pruning #StepbyStep #Guide #Healthy #Plants
How to prune plants correctly?

How to compost?

Step-by-step guide: How to start composting at home-by ecorganicas

Composting is a great way to reduce waste and create nutrient-rich soil for your garden. It’s also an easy and inexpensive way to make a positive impact on the environment. If you’ve been wanting to start composting at home but don’t know where to begin, this step-by-step guide is for you.

1. Choose a composting method: There are several ways to compost at home, including using a composting bin, a compost pile, or a compost tumbler. Decide which method works best for your space and lifestyle.

2. Select a location: Choose a spot in your yard or garden that is convenient for you to access but also receives some sunlight. Avoid placing your compost pile or bin near your house or any water sources.

3. Start collecting compostable materials: Collect kitchen scraps like fruit and vegetable peels, coffee grounds, and eggshells. You can also toss in yard waste like leaves, grass clippings, and small branches. Avoid adding meat, dairy, and oily foods as these can attract pests and create odors.

4. Layer your compost pile: To create a balanced compost pile, alternate layers of green materials (nitrogen-rich) with brown materials (carbon-rich). Green materials include kitchen scraps and grass clippings, while brown materials include leaves, straw, and cardboard.

5. Keep it moist: It’s important to keep your compost pile moist but not soggy. Water your pile as needed to keep it damp, like a wrung-out sponge. If your pile becomes too wet, add more brown materials to help absorb excess moisture.

6. Turn your compost: To speed up the composting process and ensure even decomposition, turn your compost pile every few weeks. This helps aerate the pile and distribute heat and microorganisms throughout.

7. Monitor your compost: Over time, your compost pile will start to break down and turn into dark, crumbly soil. This process can take anywhere from a few months to a year, depending on the size of your pile and the materials you’ve added.

8. Use your compost: Once your compost is ready, use it to enrich your soil in the garden, flower beds, or indoor plants. Compost is a natural fertilizer that improves soil structure, retains moisture, and adds essential nutrients for plants to thrive.

By following these simple steps, you can start composting at home and reduce your impact on the environment while creating nutrient-rich soil for your garden. Happy composting!
#Stepbystep #guide #start #composting #home
How to compost?

How to transplant seedlings?

Step-by-step guide: The best way to transplant your seedlings-by ecorganicas

Transplanting seedlings is an important step in the gardening process that can greatly impact the success of your plants. Whether you started your seedlings indoors or purchased them from a nursery, properly transplanting them into their final growing location is crucial for their health and growth. Follow this step-by-step guide for the best way to transplant your seedlings and give them the best chance to thrive.

Step 1: Choose the right time

The best time to transplant seedlings is typically when they have developed their first true leaves and are still small and manageable. Avoid transplanting seedlings during extreme heat or cold, as this can stress the plants and hinder their growth. Early morning or late afternoon is usually the best time to transplant, as the plants will have a chance to acclimate before the hot midday sun.

Step 2: Prepare the planting site

Before transplanting your seedlings, prepare the planting site by loosening the soil and adding any necessary amendments, such as compost or fertilizer. Make sure the site receives the appropriate amount of sunlight for the specific plant variety you are transplanting, as this can greatly impact their growth.

Step 3: Water the seedlings

Before transplanting, water your seedlings thoroughly to help loosen the soil around the roots and reduce transplant shock. Allow the excess water to drain and wait a few minutes before carefully removing the seedlings from their containers.

Step 4: Gently remove the seedlings

Carefully remove each seedling from its container by gently squeezing the sides of the container and tapping the bottom to loosen the roots. Be careful not to damage the delicate roots as you remove the seedlings.

Step 5: Plant the seedlings

Dig a hole in the prepared planting site that is slightly larger than the root ball of the seedling. Place the seedling in the hole and gently backfill with soil, pressing down lightly to secure the plant in place. Make sure that the soil level around the seedling matches the level it was planted at in its original container.

Step 6: Water and protect

After transplanting, water the seedlings thoroughly to help them settle into their new location. Consider using a transplant solution to reduce transplant shock and give the seedlings a boost of nutrients. Protect the seedlings from strong winds, hot sun, and pests by providing shade, using row covers, or installing protective barriers.

By following this step-by-step guide, you can ensure that your seedlings have the best chance to thrive after transplanting. Remember to monitor the seedlings closely in the days following transplanting and provide them with the necessary care and attention to help them establish strong roots and grow into healthy, productive plants.
#Stepbystep #guide #transplant #seedlings
How to transplant seedlings?

How to plant seeds?

Step-by-step guide: How to plant seeds like a pro-by ecorganicas

Planting seeds may seem like a simple task, but doing it correctly can make a huge difference in the success of your garden. Whether you’re a seasoned gardener or a beginner, following a few key steps can help you plant seeds like a pro and ensure a healthy and productive garden.

Step 1: Choose the right seeds
The first step in planting seeds like a pro is to choose the right seeds for your garden. Consider factors such as your region’s climate, soil type, and the amount of sunlight your garden receives. Make sure to read the seed packet for information on planting depth, spacing, and germination times.

Step 2: Prepare the soil
Before planting your seeds, it’s important to prepare the soil to provide the best growing conditions for your plants. Start by clearing the area of any weeds or debris. Loosen the soil with a garden fork or tiller to improve aeration and drainage. You can also add compost or organic matter to enrich the soil and provide essential nutrients for your plants.

Step 3: Plant the seeds
Once the soil is prepared, it’s time to plant the seeds. Follow the instructions on the seed packet for planting depth and spacing. Use a trowel or your fingers to make a small hole in the soil, place the seed in the hole, and cover it with soil. Make sure to water the seeds immediately after planting to help them germinate.

Step 4: Provide the right conditions
To ensure the success of your seeds, it’s important to provide them with the right conditions for germination and growth. Make sure the soil is kept consistently moist but not waterlogged. You can cover the seeds with a layer of mulch to help retain moisture and prevent weed growth. Place the seeds in a sunny spot that receives at least 6-8 hours of sunlight a day.

Step 5: Care for your plants
After planting the seeds, it’s important to continue to care for your plants as they grow. Monitor the soil moisture and water as needed, making sure not to overwater or underwater. Remove any weeds that may compete with your plants for nutrients and sunlight. Fertilize your plants as needed to provide them with essential nutrients for growth.

By following these step-by-step guidelines, you can plant seeds like a pro and ensure a successful and productive garden. Remember to choose the right seeds, prepare the soil, plant the seeds correctly, provide the right conditions for germination, and care for your plants as they grow. With a little bit of patience and care, you’ll be able to enjoy a beautiful and bountiful garden in no time.
#Stepbystep #guide #plant #seeds #pro
How to plant seeds?

Raised garden bed construction plans for DIY enthusiasts

Step-by-Step Guide to Building Your Own Raised Garden Bed-by ecorganicas

A raised garden bed is a fantastic way to take your gardening to the next level. Not only does it provide better drainage and soil quality, but it also brings your plants closer to eye level, making it easier to tend to them. If you’re interested in building a raised garden bed of your own, follow these step-by-step instructions for a successful project.

Step 1: Choose a Location
The first step in building a raised garden bed is selecting the perfect spot for it. Consider factors such as sunlight exposure, water drainage, and accessibility. Ideally, you’ll want a spot that receives ample sunlight and is relatively flat. Make sure the location is easily accessible for watering and weeding.

Step 2: Gather Materials
Next, gather the materials you’ll need to build your raised garden bed. You’ll need wood for the frame, such as cedar or redwood, which are both rot-resistant. You’ll also need screws, a drill, and a saw. Additionally, you’ll need soil to fill the bed, so make sure to purchase good quality, nutrient-rich soil.

Step 3: Build the Frame
Cut your wood to the desired size for your raised garden bed. Typically, a raised garden bed is around 4 feet wide and can be as long as you’d like. Assemble the frame using screws to secure the corners. Make sure the corners are square to ensure a sturdy structure.

Step 4: Level the Ground
Before placing the frame in the desired location, make sure the ground is level. Use a shovel to remove any uneven or excess soil. Level the ground as much as possible to ensure the raised garden bed sits evenly.

Step 5: Place the Frame
Once the ground is level, place the frame in the desired location. Make sure it is level and secure before filling it with soil.

Step 6: Fill with Soil
Fill the raised garden bed with soil, making sure it is evenly distributed. You can mix in compost or other nutrients to enrich the soil for optimal plant growth.

Step 7: Plant Your Garden
Now comes the fun part – planting your garden! Choose the plants you want to grow and arrange them in the raised garden bed according to their needs for sunlight and spacing. Water your plants regularly and enjoy watching them thrive in their new elevated home.

Building a raised garden bed is a rewarding and fulfilling project for any gardener. By following these step-by-step instructions, you’ll be well on your way to creating a beautiful and productive garden space. Happy gardening!
#StepbyStep #Guide #Building #Raised #Garden #Bed
Raised garden bed construction plans for DIY enthusiasts

Raised bed vegetable gardening for beginners

A Step-by-Step Guide to Starting Your First Raised Bed Vegetable Garden-by ecorganicas

If you’re a beginner gardener or looking to try something new, a raised bed vegetable garden is a fantastic option. Raised beds offer many benefits, such as improved soil quality, better drainage, and easier maintenance. Plus, they can be a stylish addition to your outdoor space. If you’re ready to get started with your own raised bed vegetable garden, follow this step-by-step guide for success.

1. Choose the Location: The first step in starting a raised bed vegetable garden is selecting the right location. Choose a spot that receives at least six to eight hours of sunlight per day and is relatively level. Make sure the area is easily accessible for watering and tending to your plants.

2. Decide on the Size and Shape: Raised beds come in all shapes and sizes, so consider how much space you have available and what vegetables you want to grow. A bed that is four feet wide and eight feet long is a common size that allows for easy access to all parts of the garden. You can also opt for a square or rectangular shape, depending on your preference.

3. Build or Buy the Raised Bed: Once you have determined the size and shape of your raised bed, it’s time to build or buy it. You can easily build a raised bed using lumber, bricks, or stones. Make sure the bed is at least 12 inches deep to provide enough space for root growth. Alternatively, you can purchase a pre-made raised bed kit from a garden center or online.

4. Fill the Bed with Soil: Next, fill your raised bed with a high-quality soil mix. A good mix for vegetable gardens consists of equal parts compost, peat moss, and vermiculite or perlite. This will provide a nutrient-rich environment for your plants to thrive.

5. Plan Your Garden Layout: Before planting your vegetables, sketch out a plan for your garden layout. Consider the spacing requirements for each type of vegetable and arrange them accordingly. You can also include trellises or support structures for climbing plants like tomatoes or cucumbers.

6. Plant Your Vegetables: Once you have your layout planned, it’s time to plant your vegetables. Start by sowing seeds or transplanting seedlings according to the spacing requirements on the seed packet or plant label. Water them thoroughly after planting and continue to water regularly to keep the soil moist.

7. Maintain Your Garden: To ensure a successful raised bed vegetable garden, it’s important to maintain it properly. Weed regularly to prevent competition for nutrients, fertilize as needed, and monitor for pests and diseases. Water consistently, especially during hot weather, and harvest your vegetables when they are ripe.

Starting your first raised bed vegetable garden can be a rewarding experience. By following these steps, you can create a thriving garden that will provide you with fresh, healthy produce all season long. Happy gardening!
#StepbyStep #Guide #Starting #Raised #Bed #Vegetable #Garden
Raised bed vegetable gardening for beginners

DIY raised flower beds for wheelchair accessibility

How to Build Raised Flower Beds for Wheelchair Accessibility – A Step-by-Step Guide-by ecorganicas

Raised flower beds can be a great addition to any garden, providing a beautiful way to display your favorite flowers and plants. For individuals who use wheelchairs, raised flower beds can also provide a more accessible way to enjoy gardening. By building raised flower beds that are wheelchair accessible, you can ensure that everyone can take part in the joy of gardening. Here is a step-by-step guide on how to build raised flower beds for wheelchair accessibility.

Step 1: Choose the Location
The first step in building a raised flower bed for wheelchair accessibility is to choose the right location. Look for a spot that is easily accessible for someone in a wheelchair, with a flat surface and enough space for the bed. Make sure the location gets plenty of sunlight and is close to a water source.

Step 2: Measure and Mark
Measure out the dimensions for your raised flower bed, keeping in mind the height and width needed for wheelchair access. Mark out the area using stakes and string to create an outline of where the bed will be located.

Step 3: Build the Frame
Using your measurements, build a frame for the raised flower bed using weather-resistant lumber or recycled plastic timbers. Make sure the frame is sturdy and level, as this will be the foundation for your raised bed.

Step 4: Fill with Soil
Fill the raised flower bed with a mixture of topsoil, compost, and other amendments to create a fertile growing environment for your plants. Make sure the soil is evenly distributed and level throughout the bed.

Step 5: Plant Your Flowers
Once the raised flower bed is filled with soil, it’s time to plant your flowers and plants. Choose a variety of plants that will thrive in the conditions of your garden and provide a beautiful display throughout the seasons.

Step 6: Add Accessibility Features
To make your raised flower bed more wheelchair accessible, consider adding features such as ramps, handrails, or built-in seating. These additions can make it easier for individuals in wheelchairs to reach and enjoy the plants in the raised bed.

Step 7: Maintain and Enjoy
Regularly maintain your raised flower bed by watering, weeding, and fertilizing as needed. Enjoy the beauty of your garden and the accessibility of your raised flower bed for years to come.

By following these steps, you can create a beautiful and accessible raised flower bed for wheelchair users to enjoy. With a little planning and effort, you can make gardening an inclusive and enjoyable activity for everyone in your community.
#Build #Raised #Flower #Beds #Wheelchair #Accessibility #StepbyStep #Guide
DIY raised flower beds for wheelchair accessibility