How to create a low-maintenance garden?

The Ultimate Guide to Designing a Low-Maintenance Garden-by ecorganicas

Designing a low-maintenance garden can provide you with a beautiful outdoor space that requires minimal upkeep. Whether you are a busy professional or simply don’t have the time or interest to spend hours on gardening tasks, creating a low-maintenance garden can be a great solution. With a few key principles in mind, you can design a garden that looks great and requires minimal effort to maintain.

Choose the Right Plants

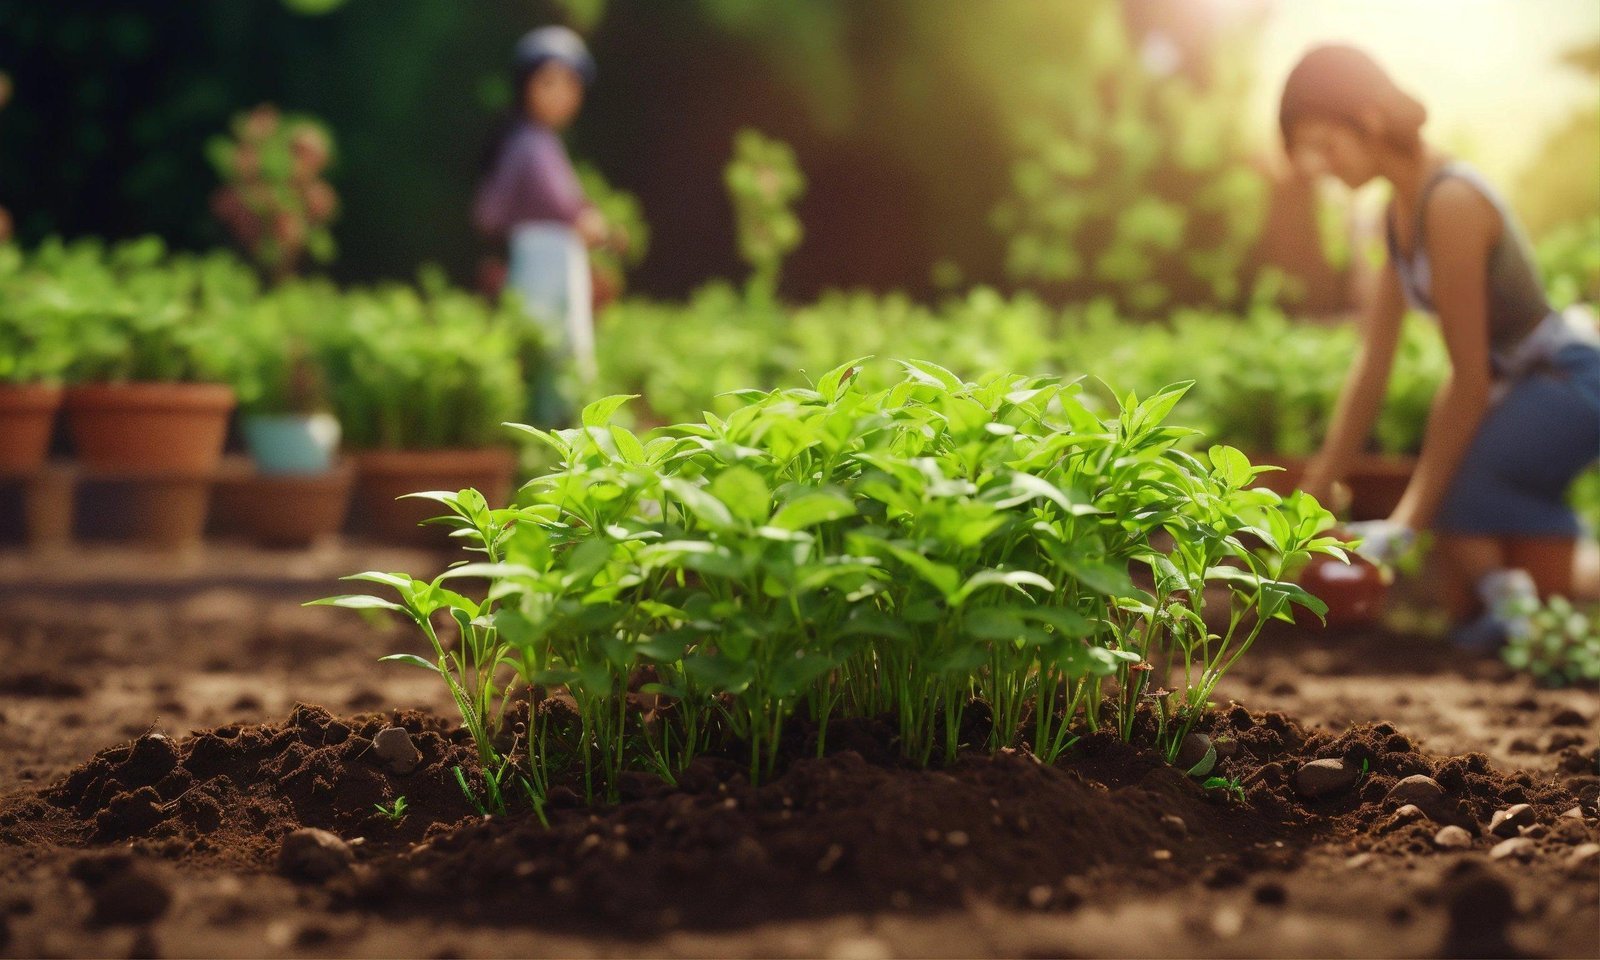
One of the most important factors in creating a low-maintenance garden is choosing the right plants. Look for varieties that are well-suited to your climate and soil conditions, and that require minimal watering and pruning. Native plants are a good choice, as they are adapted to the local environment and are usually low-maintenance. Drought-tolerant plants, such as succulents and ornamental grasses, are also a great option for a low-maintenance garden.

Consider using a mix of perennials and shrubs, as these plants require less maintenance than annuals. Perennials come back year after year, saving you the time and effort of replanting each season. Shrubs are also a good choice, as they provide structure and visual interest to the garden without requiring frequent pruning.
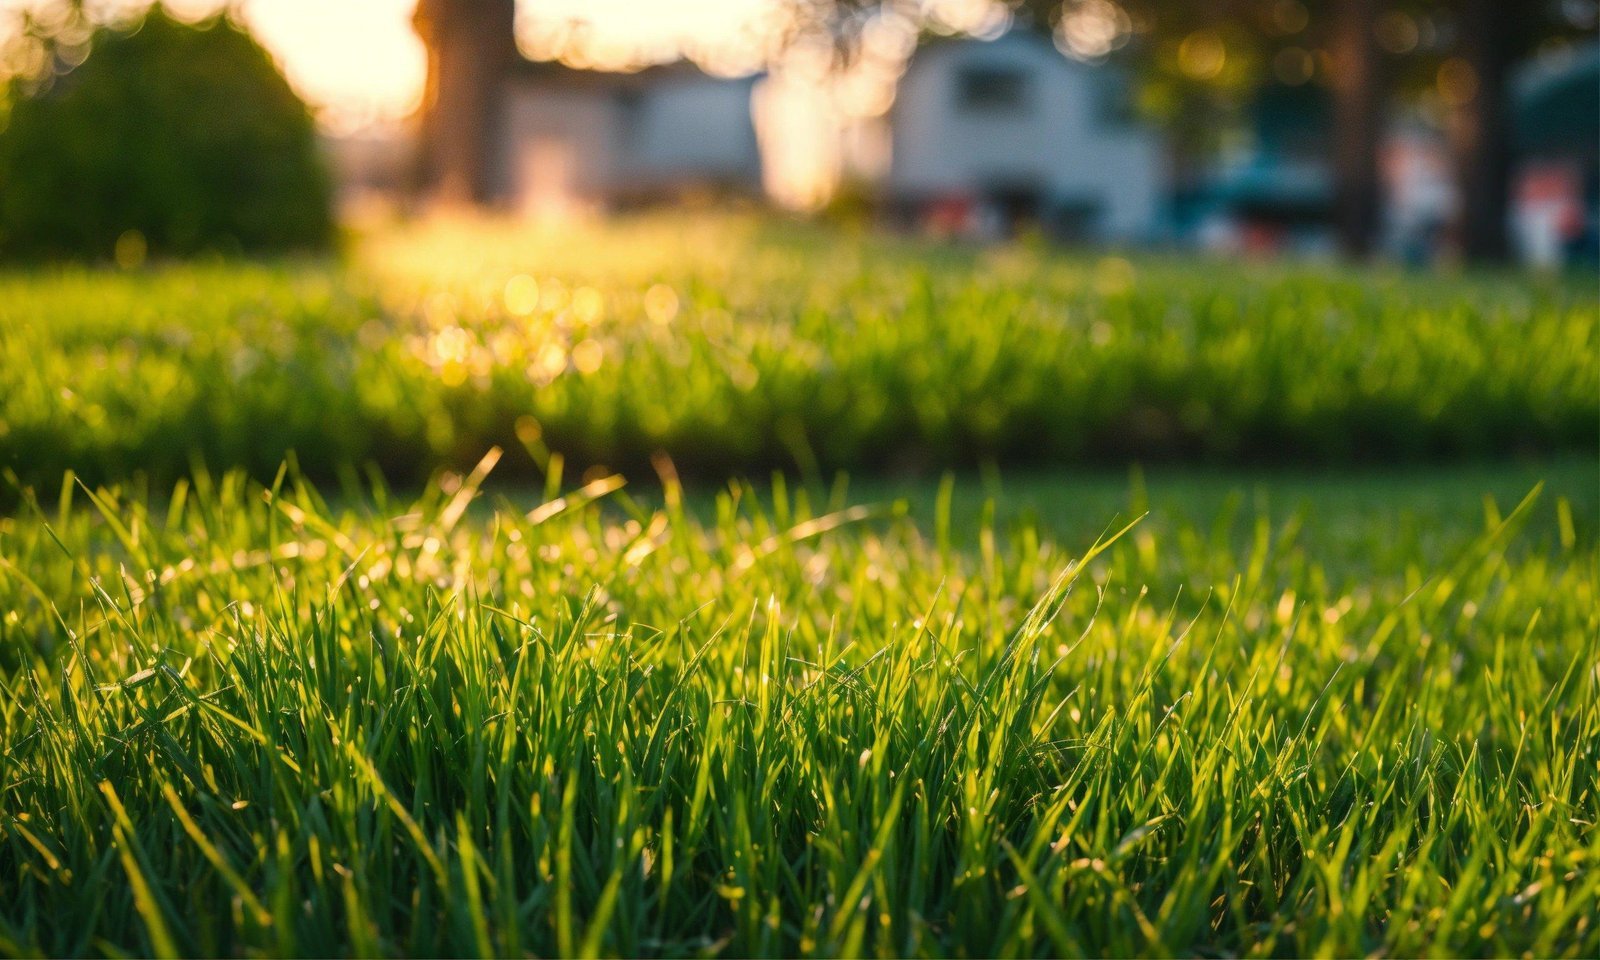
Minimize Lawn Area

Lawns require regular mowing, watering, and fertilizing to stay healthy and green. To minimize the maintenance required, consider reducing the size of your lawn by adding more flower beds, shrubs, or hardscaping. Paths, patios, and gravel beds can add visual interest to your garden while reducing the amount of lawn area that needs to be maintained.
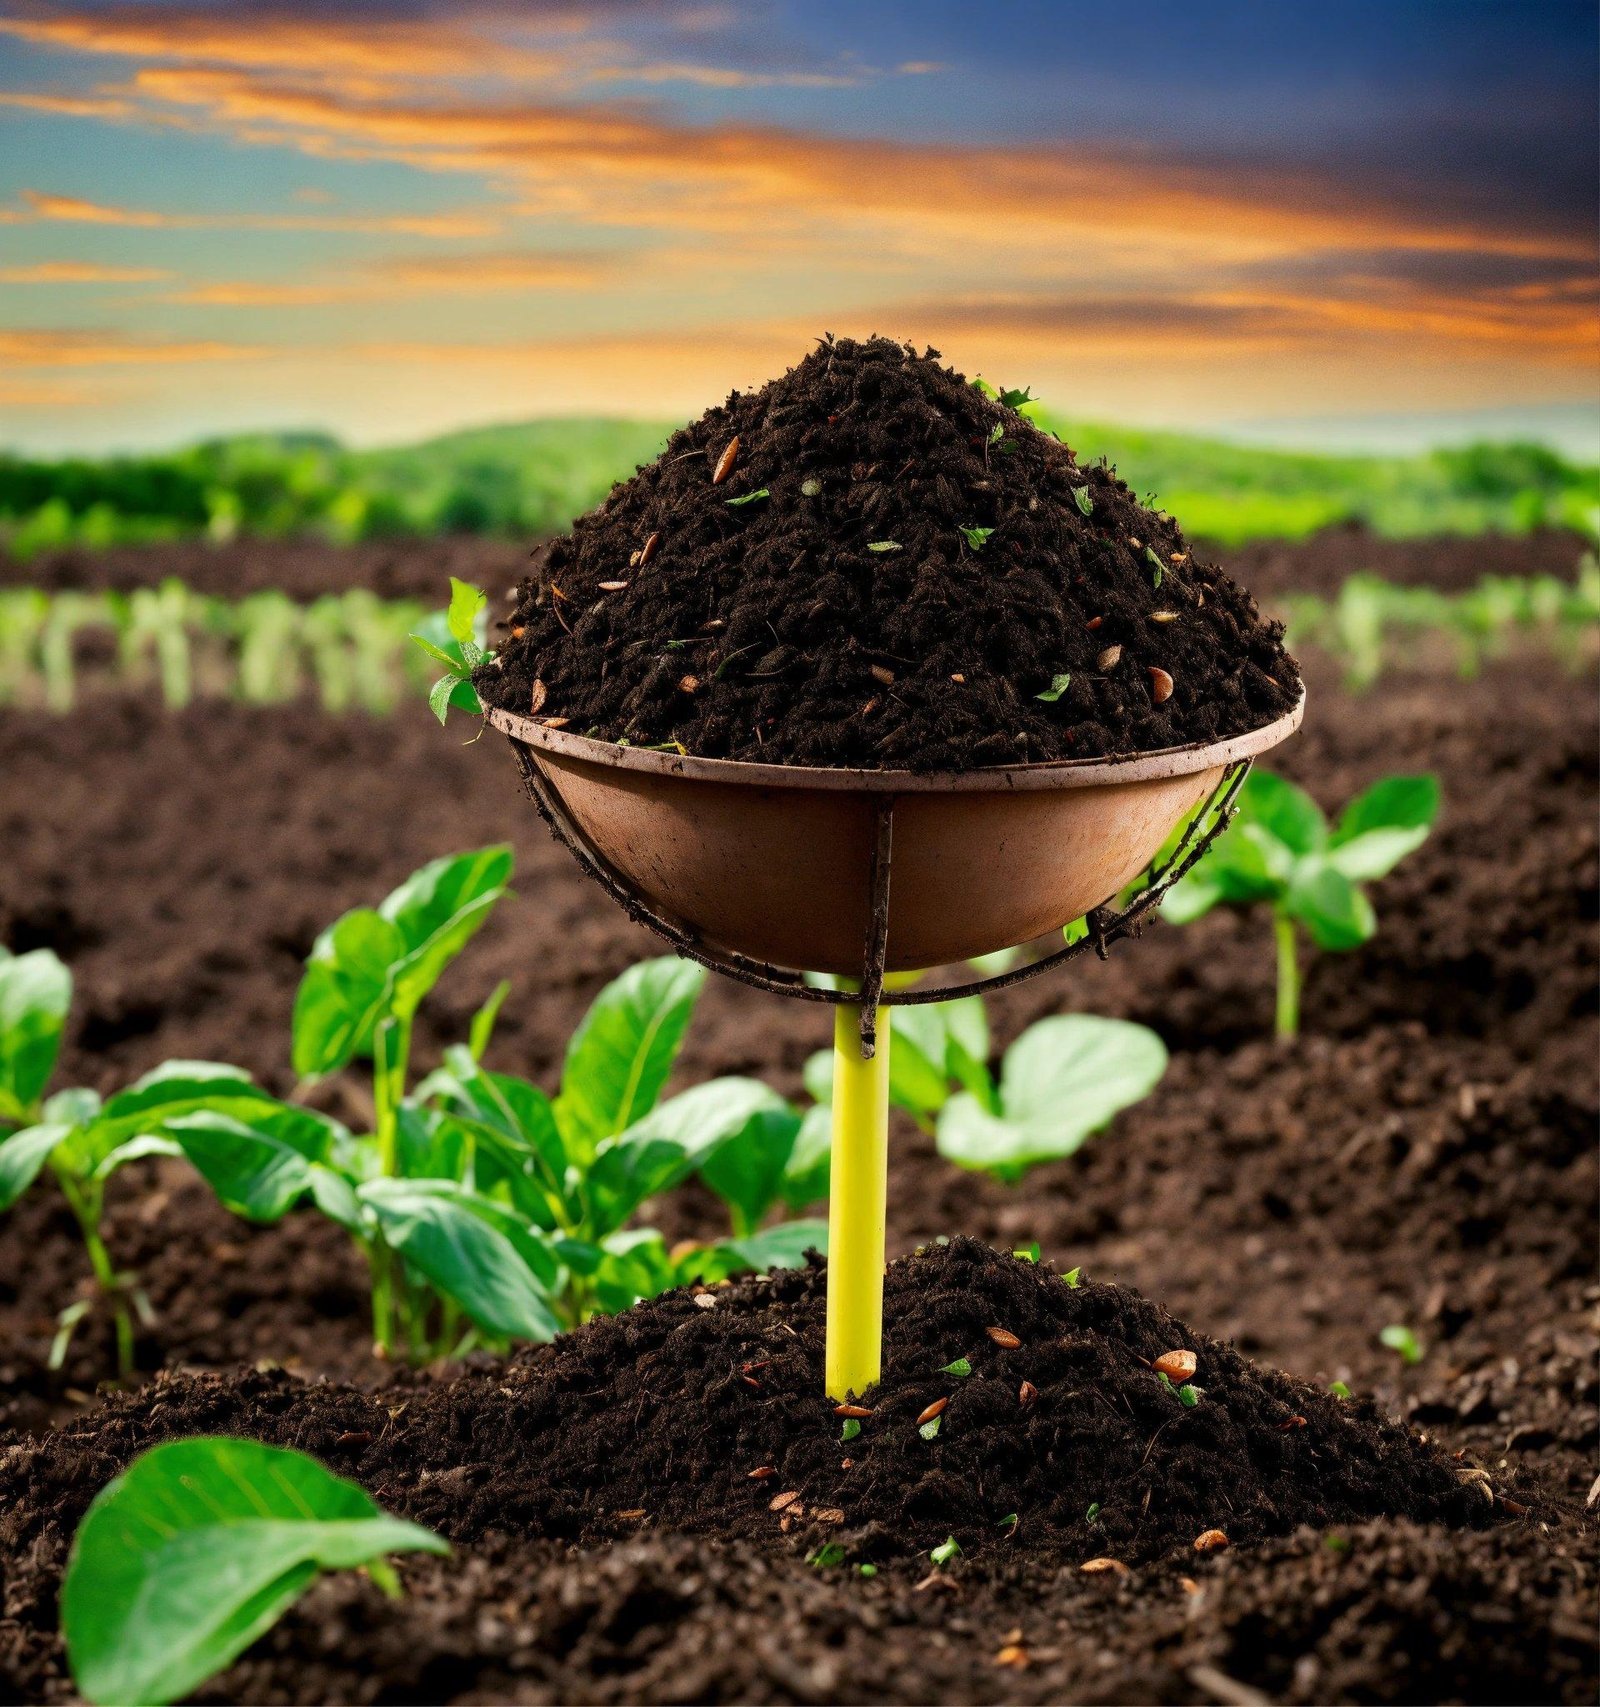
Use Mulch

Mulch is your best friend when it comes to creating a low-maintenance garden. Mulch helps to retain moisture in the soil, suppress weeds, and regulate soil temperature. Choose a natural mulch, such as wood chips or bark, and spread a thick layer around your plants to help reduce the need for watering and weeding.

Design for Easy Access

When designing your garden, consider how easy it will be to access different areas for maintenance tasks. Create well-defined paths and walkways that allow you to easily reach all areas of the garden without trampling on plants. Include space for a compost bin or storage shed, so you have a convenient place to store tools and supplies.
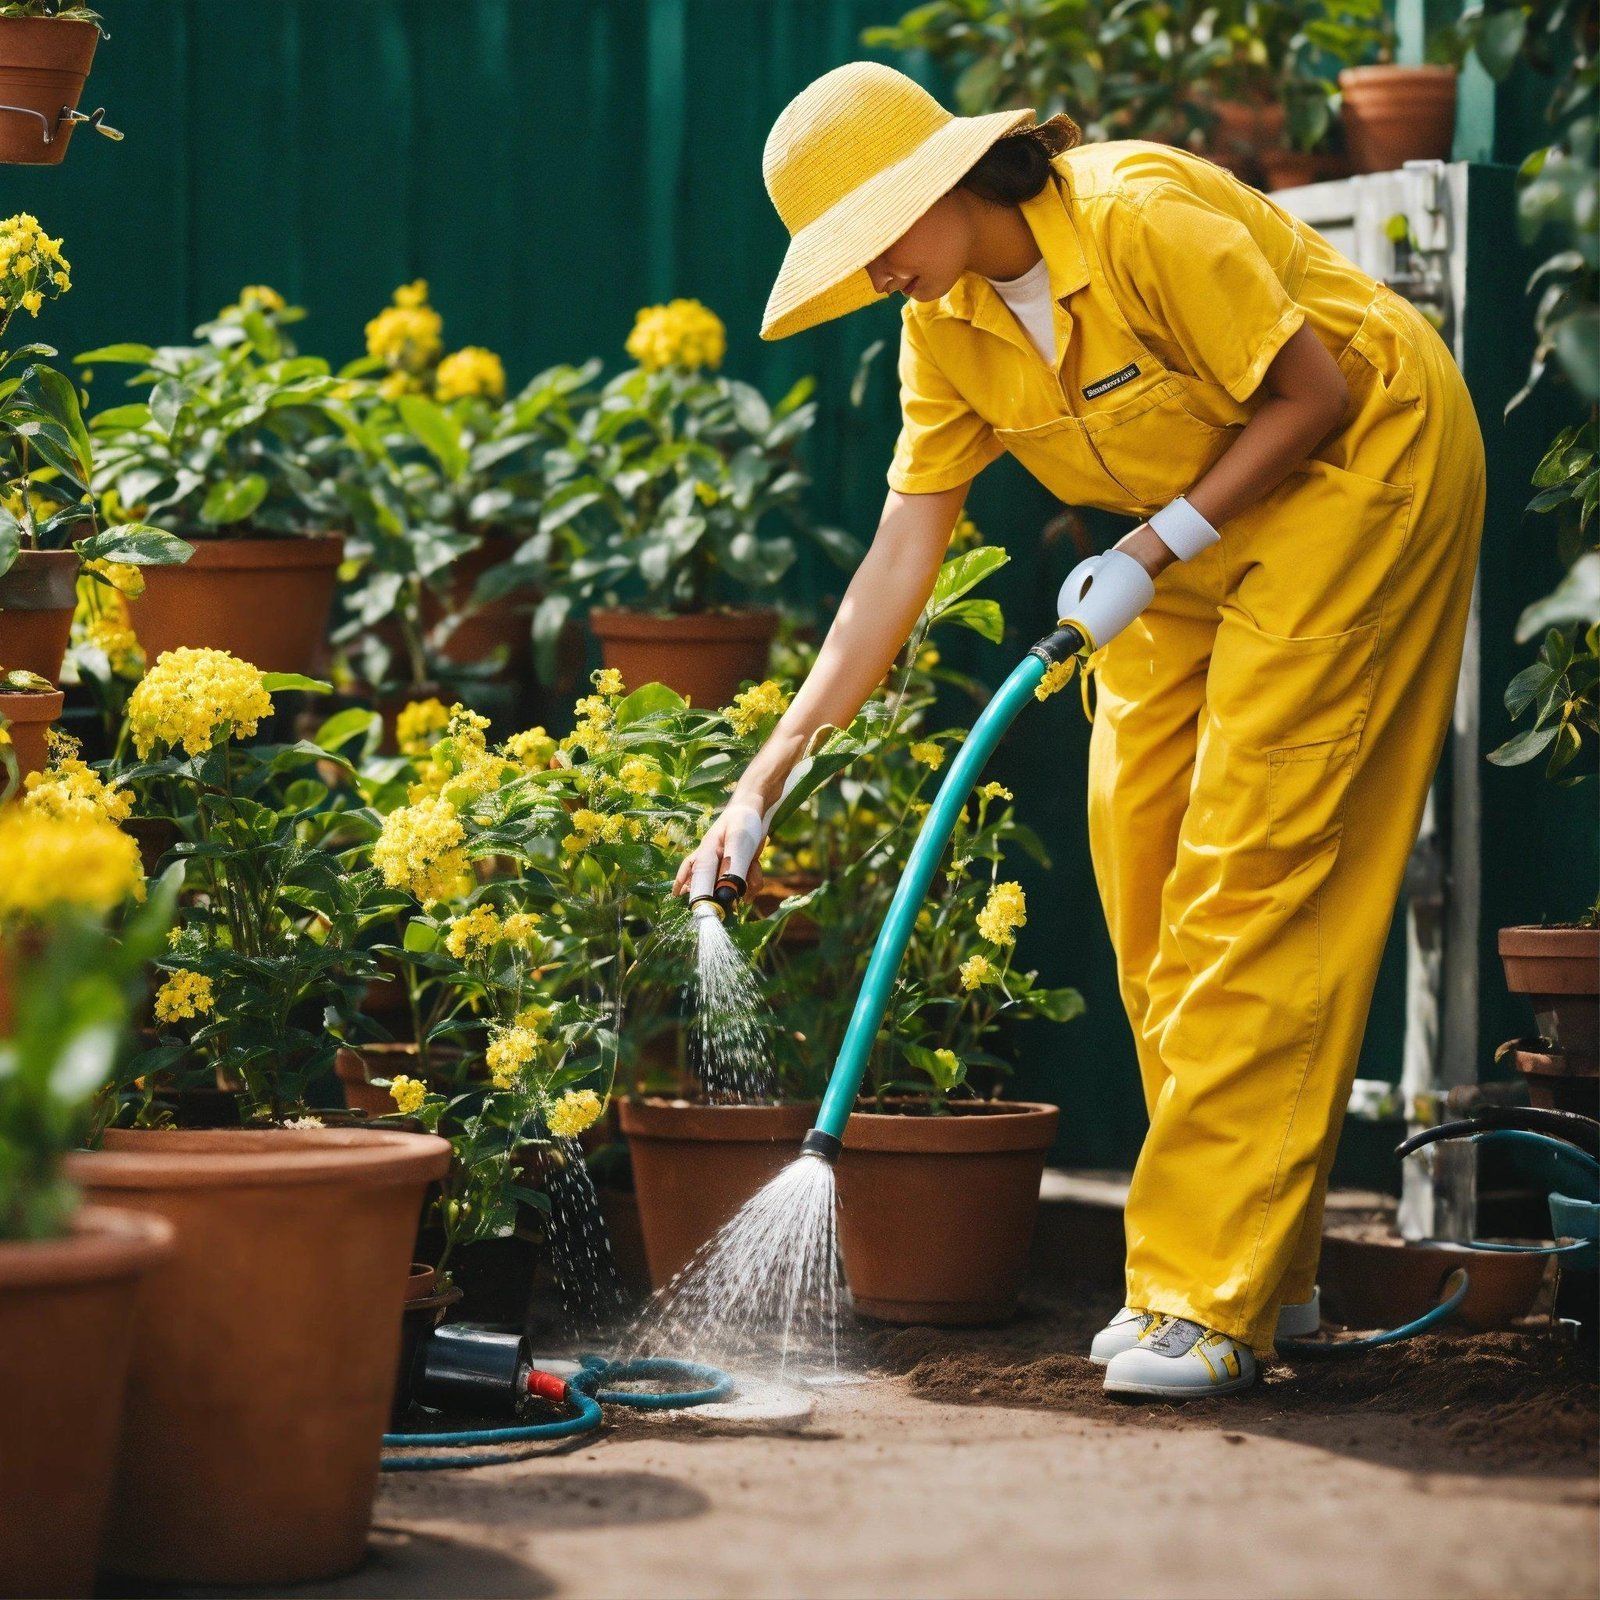
Plan for Watering

To reduce the amount of watering your garden needs, consider installing a drip irrigation system or a rainwater harvesting system. Drip irrigation delivers water directly to the roots of plants, minimizing water waste and reducing the need for manual watering. Rainwater harvesting systems collect rainwater from your roof and store it in a tank for later use in the garden.

By following these tips and principles, you can design a low-maintenance garden that looks great year-round with minimal effort. With the right plant choices, design elements, and maintenance practices, you can enjoy your garden without feeling overwhelmed by the upkeep. So, roll up your sleeves and get started on creating a beautiful and low-maintenance outdoor space that you can enjoy for years to come.
#Ultimate #Guide #Designing #LowMaintenance #Garden
How to create a low-maintenance garden?

How to plan a sustainable garden?

Creating a Lush Oasis: A Guide to Planning a Sustainable Garden-by ecorganicas

Creating a lush oasis in your backyard is not only a beautiful addition to your home, but it is also a way to connect with nature and promote sustainability. Planning a sustainable garden can help reduce your environmental impact, conserve resources, and create a healthy ecosystem for plants and wildlife. Here’s a guide to planning a sustainable garden that will provide you with a beautiful and eco-friendly oasis.

1. Choose the Right Plants: When planning your sustainable garden, it is important to choose plants that are well-suited to your climate and soil conditions. Native plants are a great choice as they are adapted to your local environment and require less water and maintenance. Additionally, they provide food and habitat for local wildlife. Consider planting a variety of flowers, shrubs, and trees to create a diverse and balanced ecosystem.

2. Use Water Wisely: Water conservation is key to creating a sustainable garden. Consider installing a rain barrel to collect rainwater for watering your plants. Mulching your garden beds can help retain moisture in the soil and reduce the need for watering. Opt for drought-tolerant plants that require less water and invest in a drip irrigation system to deliver water directly to the roots of your plants.

3. Incorporate Composting: Composting is a great way to reduce waste and improve soil health in your garden. Start a compost pile with kitchen scraps, yard waste, and other organic materials. The compost can be used as a natural fertilizer to enrich the soil and help your plants grow strong and healthy. Additionally, composting helps reduce the need for chemical fertilizers, which can be harmful to the environment.

4. Practice Integrated Pest Management: Instead of relying on harmful chemical pesticides, consider practicing integrated pest management (IPM) in your garden. This approach involves using a combination of biological, cultural, and mechanical techniques to control pests and diseases. Encourage natural predators like ladybugs and lacewings to help keep pest populations in check. Planting companion plants and rotating crops can also help prevent infestations.

5. Create Habitat for Wildlife: A sustainable garden is not just about plants – it is also about creating a habitat for wildlife. Provide food, water, and shelter for birds, butterflies, bees, and other beneficial insects. Plant native flowers that attract pollinators and provide nesting sites for birds. Add a bird feeder, a birdbath, or a butterfly house to encourage wildlife to visit your garden.

By following these tips and incorporating sustainable practices into your garden planning, you can create a lush oasis that is not only beautiful but also environmentally friendly. Whether you have a small backyard or a large plot of land, there are many ways to create a sustainable garden that promotes biodiversity, conserves resources, and supports a healthy ecosystem. Start planning your sustainable garden today and enjoy the beauty of nature right in your own backyard.
#Creating #Lush #Oasis #Guide #Planning #Sustainable #Garden
How to plan a sustainable garden?

How to deal with common gardening problems?

Green thumbs up: Tips for tackling common gardening woes-by ecorganicas

Gardening can be a rewarding and fulfilling hobby, but it can also come with its fair share of challenges. From dealing with pests to struggling with plants that just won’t seem to grow, there are a variety of common gardening woes that can frustrate even the most experienced gardeners. But fear not! With a few helpful tips and tricks, you can tackle these problems head-on and turn your garden into a thriving paradise.

Pests are perhaps one of the most common issues that gardeners face. Whether it’s pesky aphids eating away at your plants or slugs leaving a trail of destruction in their wake, dealing with pests can be a constant battle. One way to combat this problem is by using natural pest control methods, such as introducing beneficial insects like ladybugs or planting pest-repelling herbs like basil and mint. You can also create physical barriers, such as row covers or netting, to keep pests at bay.

Another common gardening woe is struggling with plants that just won’t seem to thrive. If your plants are looking wilted, yellowed, or just generally unhappy, there are a few things you can try to help them bounce back. First, make sure your plants are getting the right amount of water and sunlight – too much or too little of either can cause issues. You can also try repotting your plants in fresh, nutrient-rich soil or adding a layer of compost to help boost their growth.

Dealing with weeds is another common problem that can plague gardeners. Weeds can quickly take over your garden, stealing nutrients and water from your plants. To combat this issue, it’s important to stay on top of weeding regularly. You can also try using mulch to suppress weed growth and make it easier to pull them out when they do pop up. For particularly stubborn weeds, you may need to resort to using a weed killer, but be sure to choose a product that is safe for use in your garden.

Finally, one of the most frustrating gardening woes is dealing with soil that just won’t cooperate. If your soil is compacted or lacking in nutrients, it can be difficult for plants to thrive. One solution is to improve your soil by adding organic matter, such as compost or aged manure, to help loosen it up and provide essential nutrients. You can also test your soil’s pH levels and adjust them as needed to create the ideal growing conditions for your plants.

By following these tips and strategies, you can tackle common gardening woes and create a thriving, beautiful garden that you can be proud of. With a little patience and perseverance, you can overcome any challenge that comes your way and enjoy the fruits of your labor for years to come. So put on your gardening gloves, roll up your sleeves, and get ready to show off your green thumb!
#Green #thumbs #Tips #tackling #common #gardening #woes
How to deal with common gardening problems?

What are the best gardening books or resources for beginners?

10 Essential Gardening Books Every Beginner Should Read-by ecorganicas

Whether you are a novice gardener looking to start your first garden or a seasoned pro looking to expand your knowledge, having a good collection of gardening books is essential. Here are 10 essential gardening books every beginner should read to help you cultivate a green thumb and create a thriving garden.

1. “The Vegetable Gardener’s Bible” by Edward C. Smith
This comprehensive guide covers everything from planning and planting to caring for your garden and harvesting the bounty. It includes information on crop rotation, pest control, and organic gardening practices.

2. “The Well-Tempered Garden” by Christopher Lloyd
This classic gardening book covers everything from design principles to plant care and maintenance. With Lloyd’s witty and insightful prose, this book is a must-read for any gardener looking to create a beautiful and functional outdoor space.

3. “The Complete Compost Gardening Guide” by Barbara Pleasant and Deborah L. Martin
Composting is an essential aspect of sustainable gardening, and this book covers everything you need to know to turn your kitchen and garden waste into nutrient-rich compost for your plants.

4. “The Flower Gardener’s Bible” by Lewis and Nancy Hill
This comprehensive guide covers everything you need to know about planning, planting, and caring for a beautiful flower garden. It includes information on selecting the right plants for your space and maintaining healthy soil.

5. “All New Square Foot Gardening” by Mel Bartholomew
This innovative gardening method focuses on maximizing growing space by planting in small raised beds. This book is a great resource for beginner gardeners looking to start a successful vegetable garden in a limited space.

6. “Carrots Love Tomatoes” by Louise Riotte
This classic book explores the concept of companion planting and how certain plants can benefit each other when grown together. This book is a must-read for organic gardeners looking to improve plant health and productivity.

7. “Rodale’s Basic Organic Gardening” by Deborah L. Martin
This book covers the basics of organic gardening, including soil health, pest control, and plant care. It is a great resource for beginner gardeners looking to adopt organic gardening practices.

8. “The New Organic Grower” by Eliot Coleman
This book is a comprehensive guide to organic farming practices, including information on crop rotation, soil health, and pest control. It is a great resource for gardeners looking to take their organic gardening skills to the next level.

9. “The Ultimate Guide to Urban Farming” by Nicole Faires
This book covers everything you need to know about urban farming, including how to grow vegetables, raise chickens, and keep bees in a small space. It is a great resource for beginner gardeners looking to create a sustainable urban garden.

10. “The Gardener’s A-Z Guide to Growing Organic Food” by Tanya L.K. Denckla
This comprehensive guide covers everything you need to know about growing organic fruits, vegetables, and herbs. It includes information on plant care, pest control, and soil health, making it a valuable resource for beginner gardeners looking to grow their own organic food.

These 10 essential gardening books cover a wide range of topics and are sure to provide valuable information and inspiration for beginner gardeners. Whether you are looking to grow vegetables, flowers, or herbs, these books will help you create a successful and thriving garden. Happy gardening!
#Essential #Gardening #Books #Beginner #Read
What are the best gardening books or resources for beginners?

How to grow plants indoors?

Green thumb tips: How to successfully grow plants indoors-by ecorganicas

Having a green thumb doesn’t just mean having the ability to successfully grow plants outdoors. It also means being able to cultivate a thriving indoor garden. With the right tips and tricks, anyone can turn their home into a lush oasis filled with beautiful plants. Here are some green thumb tips for successfully growing plants indoors:

1. Choose the right plants: Not all plants are suitable for growing indoors. Some plants require more sunlight, space, and air circulation than others. When selecting plants for your indoor garden, consider factors such as light levels, temperature, and available space. Popular indoor plants that are easy to care for include pothos, spider plants, snake plants, and peace lilies.

2. Provide adequate light: Light is essential for plants to photosynthesize and grow. Most indoor plants require at least 6-8 hours of bright, indirect sunlight each day. Place your plants near a window where they can receive plenty of natural light. If your home doesn’t get much sunlight, consider using grow lights to supplement the light.

3. Water wisely: Overwatering is one of the most common mistakes that indoor gardeners make. It’s important to water your plants consistently, but not excessively. Water your plants when the top inch of soil feels dry to the touch. Always use room temperature water to avoid shocking your plants.

4. Use well-draining soil: Good drainage is essential for preventing root rot and other moisture-related problems. Use a high-quality potting mix that contains perlite or vermiculite to help improve drainage. Choose pots with drainage holes at the bottom to allow excess water to escape.

5. Monitor humidity levels: Indoor environments tend to be drier than outdoor environments, which can be detrimental to some plants. To increase humidity, mist your plants regularly, place a tray of water near your plants, or use a humidifier. Be sure to monitor humidity levels with a hygrometer and adjust as needed.

6. Fertilize regularly: Indoor plants rely on you for their nutrients. Fertilize your plants every 4-6 weeks during the growing season with a balanced plant food. Be sure to follow the manufacturer’s instructions for proper application and dosage.

7. Prune and repot as needed: Regularly prune your plants to promote healthy growth and maintain their shape. Repot your plants every 1-2 years to refresh the soil and provide them with more room to grow. Choose pots that are 1-2 inches larger in diameter than their current pots.

By following these tips, anyone can develop a green thumb and successfully grow plants indoors. With a little time, care, and attention, you can create a beautiful indoor garden that brightens up your living space and brings a touch of nature indoors.
#Green #thumb #tips #successfully #grow #plants #indoors
How to grow plants indoors?

How to attract pollinators to the garden?

The Buzz on Attracting Pollinators to Your Garden: Tips and Tricks-by ecorganicas

Pollinators such as bees, butterflies, birds, and bats are essential for the health and vitality of a garden. They play a crucial role in the reproduction of plants by transferring pollen from one flower to another, allowing them to produce fruits, seeds, and new plants. Without pollinators, many plants would not be able to reproduce, resulting in a loss of biodiversity and a decline in overall ecosystem health.

If you want to attract pollinators to your garden and help support their populations, there are several tips and tricks you can use to create a welcoming environment for them.

One of the first steps in attracting pollinators to your garden is to plant a diverse range of flowers and plants that produce nectar and pollen. Different pollinators are attracted to different types of flowers, so having a variety of plants will help ensure that you attract a diverse group of pollinators. Opt for native plants whenever possible, as they are well adapted to the local climate and soil conditions, making them more attractive to local pollinators.

In addition to planting a variety of flowers, it is important to provide a water source for pollinators. Bees and butterflies in particular need water to survive, so consider setting up a shallow dish filled with water or a small birdbath in your garden. Make sure to keep the water clean and fresh to prevent the spread of disease among pollinators.

Another key factor in attracting pollinators to your garden is to provide shelter and nesting sites. Many pollinators, such as bees, butterflies, and birds, require sheltered areas to rest and nest. You can create habitat for pollinators by leaving patches of bare ground for ground-nesting bees, providing bee boxes or butterfly houses, or planting trees and shrubs that offer shelter and protection from predators.

Avoid using pesticides in your garden, as they can be harmful to pollinators and other beneficial insects. Instead, opt for natural pest control methods such as practicing crop rotation, using companion planting techniques, and encouraging natural predators such as ladybugs and lacewings. By creating a healthy, pesticide-free environment, you will attract more pollinators and support a thriving ecosystem in your garden.

Lastly, be mindful of the timing of your garden maintenance activities. Many pollinators are most active during certain times of the day or year, so try to schedule your gardening tasks accordingly. For example, avoid mowing or pruning plants in the early morning or evening when bees are most active, and leave flowers and plants standing through the winter to provide food and shelter for pollinators during the colder months.

By following these tips and tricks, you can create a pollinator-friendly garden that attracts a diverse array of pollinators and supports their populations. Not only will you enjoy a more vibrant and colorful garden, but you will also be contributing to the conservation of these important creatures and the overall health of the ecosystem.
#Buzz #Attracting #Pollinators #Garden #Tips #Tricks
How to attract pollinators to the garden?

How to create a butterfly garden?

Step-by-Step Guide: How to Create Your Own Stunning Butterfly Garden-by ecorganicas

Butterfly gardens are a beautiful and peaceful addition to any outdoor space. Creating your own stunning butterfly garden can be a rewarding and relaxing experience, as it provides a haven for these delicate creatures to thrive and adds a splash of color to your yard. Here is a step-by-step guide on how to create your own butterfly garden:

1. Choose the Right Location: The first step in creating a butterfly garden is to choose the right location. Butterflies are cold-blooded creatures, so they need plenty of sunlight to warm up and thrive. Look for a spot in your yard that receives at least six hours of sunlight per day. Additionally, butterflies are attracted to sheltered areas with some protection from the wind, so try to create a garden in a slightly sheltered spot.

2. Plan Your Garden Design: Next, plan out the design of your butterfly garden. Think about the types of plants you want to include, as well as any features such as a butterfly feeder or a small water source. Consider planting a variety of flowers in different heights and colors to attract a diverse range of butterfly species.

3. Choose the Right Plants: When selecting plants for your butterfly garden, opt for species that are known to attract butterflies. Some good choices include butterfly bush, coneflowers, lantana, milkweed, and zinnias. Choose plants that bloom at different times throughout the year to provide nectar for butterflies all season long. Additionally, consider planting some host plants for butterfly larvae to feed on, such as milkweed for monarch butterflies.

4. Prep Your Soil: Before planting your butterfly garden, make sure to prepare the soil properly. Loosen the soil and add compost or other organic matter to improve drainage and provide nutrients for your plants. Make sure to water the soil thoroughly before planting to give your plants a healthy start.

5. Plant Your Garden: Once your soil is prepped, it’s time to plant your butterfly garden. Start by arranging your plants according to your design plan, keeping in mind the heights and spacing of each plant. Dig holes slightly larger than the root balls of your plants and gently place them in the holes. Fill in with soil and water thoroughly.

6. Maintain Your Garden: To keep your butterfly garden looking stunning, be sure to maintain it regularly. Water your plants regularly, especially during dry spells, and remove any weeds that may pop up. Deadhead spent flowers to encourage new blooms and prune any overgrown plants as needed. Consider adding a layer of mulch around your plants to help retain moisture and discourage weeds.

7. Attract Butterflies: To attract butterflies to your garden, consider adding a few extra features. Create a small butterfly feeder with a mix of rotting fruit and sugar water, or set out a shallow dish of water with a few pebbles for butterflies to rest on. You could also add a butterfly house or a few rocks or logs for butterflies to bask in the sun.

Creating your own stunning butterfly garden is a rewarding experience that will bring beauty and joy to your outdoor space. By following these simple steps, you can create a haven for butterflies and enjoy the peaceful presence of these graceful creatures in your yard.
#StepbyStep #Guide #Create #Stunning #Butterfly #Garden
How to create a butterfly garden?

How to propagate plants from cuttings?

Mastering the Art of Propagating Plants from Cuttings-by ecorganicas

Propagating plants from cuttings is a great way to expand your garden without having to spend a lot of money on new plants. It can also be a fun and rewarding way to connect with nature and learn more about the plants you love. However, successfully propagating plants from cuttings requires some knowledge and skill. Here are some tips to help you master the art of propagating plants from cuttings.

First, it’s important to understand the basics of plant propagation. When you take a cutting from a plant, you are essentially taking a piece of the plant that has the potential to grow into a new plant. The key to successful propagation is providing the cutting with the right conditions to encourage root growth.

One of the most important factors in successful propagation is choosing the right plant material. Look for healthy, disease-free plants with plenty of new growth. It’s best to take cuttings from softwood or semi-hardwood, as these tend to root more easily than hardwood cuttings. Make sure to use sharp, clean pruners to take your cuttings, as blunt or dirty tools can damage the plant material and make it more difficult for it to root.

Once you have taken your cuttings, it’s important to provide them with the right conditions to encourage root growth. The most important factor in successful propagation is keeping the cutting moist while it roots. You can achieve this by placing the cutting in a container with well-draining soil and keeping it consistently moist, but not waterlogged.

You can also cover the cutting with a plastic bag or dome to help retain moisture and create a humid environment, which can encourage root growth. Make sure to place the cutting in a warm, bright location, but out of direct sunlight, as this can cause the cutting to dry out.

Patience is key when propagating plants from cuttings. It can take anywhere from a few weeks to a few months for a cutting to root and begin growing into a new plant. Be sure to check on your cuttings regularly and gently tug on the stems to see if they have rooted. Once roots have formed, you can transplant the cutting into a larger container or directly into the garden.

With practice and patience, you can master the art of propagating plants from cuttings and expand your garden with new, healthy plants. Enjoy the process of watching your cuttings grow and thrive, and take pride in knowing that you have successfully propagated new plants from existing ones. Happy propagating!
#Mastering #Art #Propagating #Plants #Cuttings
How to propagate plants from cuttings?

How to prune plants correctly?

Mastering the Art of Pruning: A Step-by-Step Guide for Healthy Plants-by ecorganicas

Pruning is a crucial part of maintaining healthy plants and ensuring they continue to grow and thrive. By properly pruning your plants, you can encourage new growth, improve air circulation, and shape the plant to your desired size and form. While it may seem daunting at first, mastering the art of pruning is actually quite simple with the right techniques and tools. In this step-by-step guide, we will cover everything you need to know to successfully prune your plants.

The first step in pruning your plants is to properly identify the type of plant you are working with. Different plants require different pruning techniques, so it’s important to know what you are dealing with before you get started. Some common types of plants that may need pruning include trees, shrubs, hedges, and vines.

Next, assess the overall health and shape of the plant. Look for any dead, diseased, or damaged branches that need to be removed. These branches can be a breeding ground for pests and diseases, so removing them is essential for the overall health of the plant. Additionally, removing any crossing or rubbing branches will help improve air circulation and prevent future issues.

Once you have identified the branches that need to be pruned, it’s time to gather the necessary tools. Sharp pruning shears are essential for making clean cuts and preventing damage to the plant. For larger branches, loppers or a pruning saw may be necessary. Make sure that your tools are sharp and clean before you begin pruning.

When making cuts, it’s important to cut at the proper angle to promote healthy growth. For most plants, a 45-degree angle cut just above a node or bud is ideal. Avoid leaving stubs or cutting too close to the bud, as this can cause damage to the plant and impede growth. Additionally, make sure to clean your tools between cuts, especially if you are working with diseased plants, to prevent the spread of any pathogens.

After pruning, it’s important to properly dispose of any debris. Remove any cut branches and leaves from the area around the plant to prevent the spread of pests and diseases. If the plant is diseased, make sure to clean and disinfect your tools before using them on other plants to prevent the spread of the disease.

Finally, water and fertilize the plant as needed to encourage new growth. Proper feeding and watering will help the plant recover from pruning and thrive in the coming months.

In conclusion, mastering the art of pruning is essential for maintaining healthy plants. By following these simple steps and techniques, you can keep your plants looking their best and ensure their continued growth and vitality. With the right tools, knowledge, and practice, you can become a master pruner in no time. Happy pruning!
#Mastering #Art #Pruning #StepbyStep #Guide #Healthy #Plants
How to prune plants correctly?

How to grow flowers from bulbs?

Blooming Success: Tips for Growing Flowers from Bulbs-by ecorganicas

Spring is the season of new beginnings and what better way to celebrate than by planting flower bulbs in your garden? With the right care and attention, you can enjoy a beautiful display of blooms that will brighten up your outdoor space for months to come. Here are some tips for growing flowers from bulbs to ensure a blooming success.

Choose the right bulbs

The first step in growing flowers from bulbs is to choose the right ones for your garden. There are many different types of bulbs available, each with their own unique requirements and blooming times. Some popular flower bulbs to consider include tulips, daffodils, hyacinths, and crocuses. Make sure to select bulbs that are healthy and firm, as soft or mushy bulbs are likely to be rotting or diseased.

Plant at the right time

The timing of planting flower bulbs is crucial for their success. Most bulbs should be planted in the fall, around 6-8 weeks before the first frost date in your area. This allows the bulbs to establish their root systems before winter sets in. However, some bulbs can also be planted in the spring for a later bloom.

Choose the right location

When it comes to planting flower bulbs, location is key. Most bulbs prefer well-drained soil and plenty of sunlight. Make sure to choose a spot in your garden that receives at least 6-8 hours of sunlight per day. Avoid planting bulbs in areas that are prone to waterlogging, as this can cause the bulbs to rot.

Prepare the soil

Before planting your flower bulbs, it’s important to prepare the soil to ensure they have the best possible chance of success. Make sure the soil is well-drained and loose, as compacted soil can hinder root growth. You can also add some compost or organic matter to the soil to improve its fertility and provide nutrients for the bulbs.

Plant the bulbs properly

When planting flower bulbs, it’s important to follow the instructions on the packaging for the specific type of bulb you are planting. In general, bulbs should be planted at a depth that is two to three times their diameter. Make sure to plant the bulbs with the pointed end facing upwards, as this is where the shoots will emerge.

Provide the right care

Once your flower bulbs are planted, it’s important to provide them with the right care to ensure they thrive. Water the bulbs regularly, especially during dry spells, but be careful not to overwater as this can cause the bulbs to rot. You can also fertilize your bulbs a few times throughout the growing season to provide them with the nutrients they need.

With the right care and attention, growing flowers from bulbs can be a rewarding and enjoyable experience. By choosing the right bulbs, planting them at the right time and in the right location, and providing them with the proper care, you can enjoy a beautiful display of blooms in your garden that will bring joy and beauty to your outdoor space.
#Blooming #Success #Tips #Growing #Flowers #Bulbs
How to grow flowers from bulbs?

How to grow vegetables in containers?

Urban Gardening: A Guide to Growing Vegetables in Containers-by ecorganicas

Urban gardening has become increasingly popular in recent years as more people are looking for ways to grow their own food in small spaces. One of the most efficient methods of urban gardening is growing vegetables in containers. This method allows people living in urban areas, with limited space or no access to a traditional garden, to grow their own fresh, organic produce.

Growing vegetables in containers is a versatile and convenient way to garden as it allows you to move your plants around to follow the sun or create a decorative display on a balcony, patio, or rooftop. It also reduces the need for weeding and bending over since the plants are at a more accessible height.

When choosing containers for your vegetable garden, make sure they have drainage holes in the bottom to prevent waterlogging. The containers can be made of various materials such as plastic, ceramic, or wood, but make sure they are sturdy and can withstand the weather conditions in your area.

Selecting the right vegetables for container gardening is crucial for a successful harvest. Some vegetables are better suited for containers than others due to their size and growth habit. Here are some vegetables that thrive in containers:

1. Tomatoes: Tomatoes are one of the most popular vegetables to grow in containers. Choose compact varieties like cherry or patio tomatoes that don’t require staking and provide a steady supply of delicious fruits throughout the season.

2. Peppers: Bell peppers, chili peppers, and sweet peppers are all well-suited for container gardening. Make sure the containers are deep enough to accommodate the root system of the plants.

3. Herbs: Herbs like basil, parsley, mint, and chives are perfect for container gardening as they don’t need a lot of space and can be easily harvested for cooking.

4. Lettuce and greens: Leafy greens like lettuce, spinach, and arugula are great choices for container gardening as they can be grown in shallow pots and have a quick growth cycle.

5. Cucumbers: Compact bush varieties of cucumbers can be grown in containers with a trellis for support. Make sure to keep them well-watered and provide plenty of sunlight.

To ensure a successful container garden, here are some tips to keep in mind:

1. Use a high-quality potting mix rich in organic matter to provide nutrients for your plants.

2. Water your container vegetables regularly, as they tend to dry out quickly in the heat of the sun.

3. Fertilize your plants with a balanced fertilizer every few weeks to promote healthy growth and fruit production.

4. Monitor your plants for pests and diseases, and take appropriate measures to prevent or treat any issues that may arise.

Urban gardening offers a sustainable and rewarding way to grow your own food right in your own home. By following this guide and choosing the right vegetables for container gardening, you can enjoy a bountiful harvest of fresh, organic produce all season long. Happy gardening!
#Urban #Gardening #Guide #Growing #Vegetables #Containers
How to grow vegetables in containers?

How to create a herb garden?

A Beginner’s Guide to Growing Your Own Herb Garden-by ecorganicas

If you love cooking with fresh herbs, having your own herb garden is a great way to always have access to a variety of herbs right at your fingertips. Growing your own herbs is easier than you may think, and can be a fun and rewarding hobby. Whether you have a large backyard or just a small patio or balcony, there are many ways to start your own herb garden. Here are some tips for beginners looking to start their own herb garden.

First, think about what herbs you use most frequently in your cooking. Some popular options for beginners include basil, mint, parsley, rosemary, and thyme. These herbs are relatively easy to grow and versatile in their use. Choose a few varieties that you like and that will thrive in your climate and growing conditions.

Next, you’ll need to consider where you will plant your herb garden. If you have a backyard, you can create a dedicated herb garden bed or use pots or containers. If you have limited space, you can grow herbs in small pots on a windowsill, balcony, or patio. Make sure your herbs will have access to sunlight for at least six hours a day, as most herbs need plenty of light to grow and thrive.

When it comes to planting your herbs, choose a good quality potting mix or soil that is well-draining. Make sure your pots or containers have drainage holes at the bottom to prevent waterlogged roots. Plant your herbs according to their specific growing needs, as some herbs prefer more space and others can be planted closer together.

Water your herbs regularly, making sure not to overwater or let the soil dry out completely. Most herbs prefer slightly moist soil, so check the soil regularly and adjust your watering schedule accordingly. Fertilize your herbs every few weeks with a balanced liquid fertilizer to help promote healthy growth.

As your herbs grow, regularly trim them to encourage new growth and prevent them from becoming leggy. Harvest your herbs frequently to enjoy them in your cooking or dry them for later use. You can also propagate your herbs by taking cuttings and rooting them in water or soil to grow new plants.

Growing your own herb garden is a fun and rewarding experience that can enhance your cooking and bring a sense of satisfaction to your gardening efforts. With a little care and attention, you can enjoy a bountiful harvest of fresh herbs all year round. So, why not start your own herb garden today and enjoy the many benefits of growing your own herbs at home?
#Beginners #Guide #Growing #Herb #Garden
How to create a herb garden?

What are the best gardening hacks or tips?

10 Genius Gardening Hacks to Make Your Garden Thrive-by ecorganicas

Gardening is a beloved hobby for many people, but it can sometimes require a lot of time and effort to maintain a healthy and thriving garden. Fortunately, there are many gardening hacks that can help make the process easier and more successful. Here are 10 genius gardening hacks to help make your garden thrive:

1. Use coffee grounds as fertilizer: Coffee grounds are a great natural fertilizer for plants as they are rich in nutrients like nitrogen, potassium, and phosphorus. Simply sprinkle them around your plants to provide them with a nutrient boost.

2. Create a DIY watering system with a plastic bottle: Cut the bottom off a plastic bottle and bury it next to your plants with the opening facing up. Fill the bottle with water and it will slowly release water to your plants’ roots, keeping them hydrated.

3. Use eggshells to deter pests: Crushed eggshells can be an effective natural pest deterrent for plants like tomatoes and peppers. Simply sprinkle the crushed shells around the base of the plants to keep pests like slugs and snails away.

4. Repurpose old socks as plant ties: Instead of buying plant ties, use old socks to secure plants to stakes or trellises. Cut the socks into strips and use them to tie up plants without damaging their stems.

5. Use a lemon peel as a seed starter: Plant seeds in a lemon peel filled with soil to create a natural and biodegradable seed starter. Once the seeds have sprouted, you can plant the entire lemon peel directly into the ground.

6. Create a DIY mulch with newspaper: Shred newspaper and use it as a mulch in your garden to help retain moisture and suppress weeds. Make sure to wet the newspaper before using it as mulch to prevent it from blowing away.

7. Grow herbs in mason jars: Plant herbs like basil, mint, and parsley in mason jars filled with soil for a convenient and space-saving way to grow fresh herbs indoors. Place the jars near a sunny window to ensure they get enough light.

8. Use a rake as a seed spacing guide: Place a rake next to your rows of seeds and use the tines as a guide to evenly space out your seeds. This will help prevent overcrowding and ensure that each plant has enough room to grow.

9. Create a compost bin with a trash can: Repurpose a large trash can as a compost bin by drilling holes in the sides for aeration and mixing in kitchen scraps, leaves, and grass clippings. Stir the compost regularly to speed up the decomposition process.

10. Plant companion plants to deter pests: Planting certain combinations of plants together can help deter pests and promote healthy growth. For example, planting marigolds next to tomatoes can help repel pests like nematodes and aphids.

By incorporating these genius gardening hacks into your gardening routine, you can help make your garden thrive with less time and effort. Whether you’re a seasoned gardener or a beginner, these tips can help you create a beautiful and bountiful garden that you can enjoy year-round.
#Genius #Gardening #Hacks #Garden #Thrive
What are the best gardening hacks or tips?

How to fertilize plants naturally?

Harnessing Nature’s Power: Natural Ways to Fertilize Your Plants-by ecorganicas

When it comes to gardening, many people turn to chemical fertilizers to help their plants grow and thrive. While these products can be effective, they can also be harmful to the environment and our health. Fortunately, there are natural ways to fertilize your plants that are just as effective and much better for the planet.

One of the best ways to harness nature’s power to fertilize your plants is by using compost. Compost is made from organic matter such as vegetable scraps, yard waste, and coffee grounds. It is rich in nutrients that plants need to grow, such as nitrogen, phosphorus, and potassium. By adding compost to your garden soil, you can improve its fertility and help your plants thrive.

Another natural way to fertilize your plants is by using manure. Animal manure is a rich source of nutrients that can benefit your plants. However, it is important to use aged or composted manure, as fresh manure can burn your plants. You can also use green manure, which involves growing cover crops and then tilling them back into the soil to add nutrients.

Natural fertilizers such as bone meal, blood meal, and fish emulsion are also great options for feeding your plants. These products are derived from organic sources and provide essential nutrients that plants need to grow and bloom.

In addition to using natural fertilizers, you can also harness nature’s power by practicing companion planting. This involves planting certain crops together that benefit each other, such as planting beans with corn or marigolds with tomatoes. Companion planting can help improve soil health and deter pests, reducing the need for chemical fertilizers and pesticides.

Finally, using mulch is another natural way to fertilize your plants. Mulch helps retain moisture in the soil, suppress weeds, and add nutrients as it breaks down. Organic mulches such as straw, bark, or leaves can also provide a slow-release source of nutrients for your plants.

In conclusion, there are many natural ways to fertilize your plants that are effective, affordable, and better for the environment. By harnessing nature’s power through composting, using manure, natural fertilizers, companion planting, and mulching, you can help your plants thrive and create a healthy, sustainable garden. Let’s embrace these methods and nourish our plants in harmony with nature.
#Harnessing #Natures #Power #Natural #Ways #Fertilize #Plants
How to fertilize plants naturally?

How to compost?

Step-by-step guide: How to start composting at home-by ecorganicas

Composting is a great way to reduce waste and create nutrient-rich soil for your garden. It’s also an easy and inexpensive way to make a positive impact on the environment. If you’ve been wanting to start composting at home but don’t know where to begin, this step-by-step guide is for you.

1. Choose a composting method: There are several ways to compost at home, including using a composting bin, a compost pile, or a compost tumbler. Decide which method works best for your space and lifestyle.

2. Select a location: Choose a spot in your yard or garden that is convenient for you to access but also receives some sunlight. Avoid placing your compost pile or bin near your house or any water sources.

3. Start collecting compostable materials: Collect kitchen scraps like fruit and vegetable peels, coffee grounds, and eggshells. You can also toss in yard waste like leaves, grass clippings, and small branches. Avoid adding meat, dairy, and oily foods as these can attract pests and create odors.

4. Layer your compost pile: To create a balanced compost pile, alternate layers of green materials (nitrogen-rich) with brown materials (carbon-rich). Green materials include kitchen scraps and grass clippings, while brown materials include leaves, straw, and cardboard.

5. Keep it moist: It’s important to keep your compost pile moist but not soggy. Water your pile as needed to keep it damp, like a wrung-out sponge. If your pile becomes too wet, add more brown materials to help absorb excess moisture.

6. Turn your compost: To speed up the composting process and ensure even decomposition, turn your compost pile every few weeks. This helps aerate the pile and distribute heat and microorganisms throughout.

7. Monitor your compost: Over time, your compost pile will start to break down and turn into dark, crumbly soil. This process can take anywhere from a few months to a year, depending on the size of your pile and the materials you’ve added.

8. Use your compost: Once your compost is ready, use it to enrich your soil in the garden, flower beds, or indoor plants. Compost is a natural fertilizer that improves soil structure, retains moisture, and adds essential nutrients for plants to thrive.

By following these simple steps, you can start composting at home and reduce your impact on the environment while creating nutrient-rich soil for your garden. Happy composting!
#Stepbystep #guide #start #composting #home
How to compost?