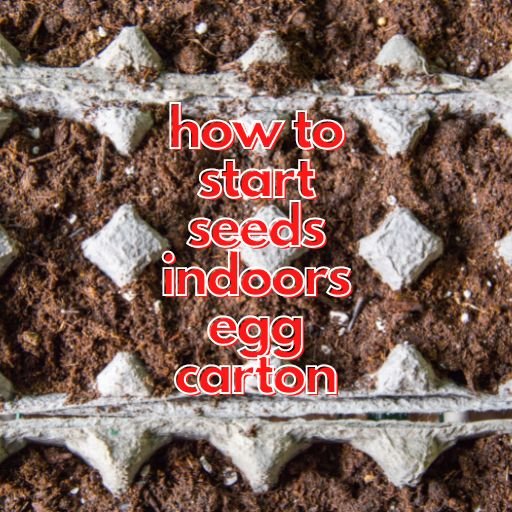
how to start seeds indoors egg carton
Do you have a green thumb but don’t know where to start? Start with an egg carton! Starting seeds indoors is one of the easiest and most effective ways to ensure a successful and fruitful garden. Not only will it save you time, but it will also give your plants the best start possible. In this blog post, we walk you through the simple steps of starting seeds indoors using an egg carton as your planter. Whether you are a novice gardener or a seasoned expert, this is sure to help you get started on your journey toward having a beautiful garden.
Supplies you’ll need
In order to start your seeds indoors in an egg carton, you will need the following supplies:
-a package of seeds
-an egg carton
-potting soil
-water
To begin, fill the egg carton cups with potting soil, and then plant 2-3 seeds in each cup. Be sure to plant the seeds at the depth specified on the seed packet. Once you have planted all of your seeds, water them well. Place the egg carton on a windowsill or some other location that gets plenty of sunlight. Keep the soil moist by watering as needed, and soon you will see little sprouts poking through the soil!
Fill your egg carton with soil
If you’re starting your seeds indoors in an egg carton, you’ll need to fill the carton with soil. The best type of soil to use is light, sandy soil. You can find this at your local gardening store or online.
Once you have your soil, it’s time to fill your egg carton. Fill each compartment of the egg carton about three-quarters full with soil. Be sure to pack the soil down firmly so that it’s dense and there are no air pockets.
Once the egg carton is filled with soil, it’s time to plant your seeds! Place one seed in each compartment and then cover it with a thin layer of soil. Be sure to label each compartment with the type of seed that you’re planting.
Water the seeds well and place the egg carton in a warm, sunny spot. Keep the soil moist but not wet and in no time at all, you’ll see your seeds sprouting!
Plant your seeds
If you’re starting your seeds indoors, one way to do so is to use an egg carton. Simply fill each section of the egg carton with a seed-starting mix, and then plant one seed in each section. Water the seeds well, and then place the egg carton in a warm, sunny spot. Keep the soil moist, and in about a week or two, your seeds will sprout!
Water your seeds
To water your seeds, simply place your egg carton on top of a container filled with water. The water will seep through the holes in the bottom of the egg carton and moisten the soil. Allow the egg carton to soak for 10-15 minutes, then remove it from the water and allow it to drain.
Place your egg carton in a sunny spot
When starting your seeds indoors, it is important to place your egg carton in a sunny spot. This will ensure that your seeds get the light they need to grow. If you do not have a sunny spot in your home, you can use a grow light.
When to transplant your seedlings
If you started your seeds in an egg carton, you’ll need to transplant them into larger pots once they’ve outgrown their starter homes. When to do this can vary depending on the plant, but a good rule of thumb is to wait until the seedlings have two true leaves. Once they’ve reached this point, they should be strong enough to handle being moved.
To transplant your seedlings, fill a pot with fresh potting mix and make a small hole in the center. Gently loosen the roots of one seedling and place it in the hole, then backfill it with soil. Water well and continue with the remaining seedlings. Be sure to give them all plenty of space to grow!
Conclusion
Starting seeds indoors in egg cartons is a great way to get a jump start on the growing season. It’s an easy and inexpensive way to give your plants the best chance of success by creating an ideal environment for germination, while also reducing waste. With just a few simple supplies and some patience, you can have beautiful seedlings ready to transplant into their final home. So why not try it out? You won’t regret it!